Looking for a way to give your kids an appreciation for how our ancestors did things before there were grocery stores full of fast and packaged foods? Making homemade butter is a great way to combine science and history that is also very tasty on fresh bread!
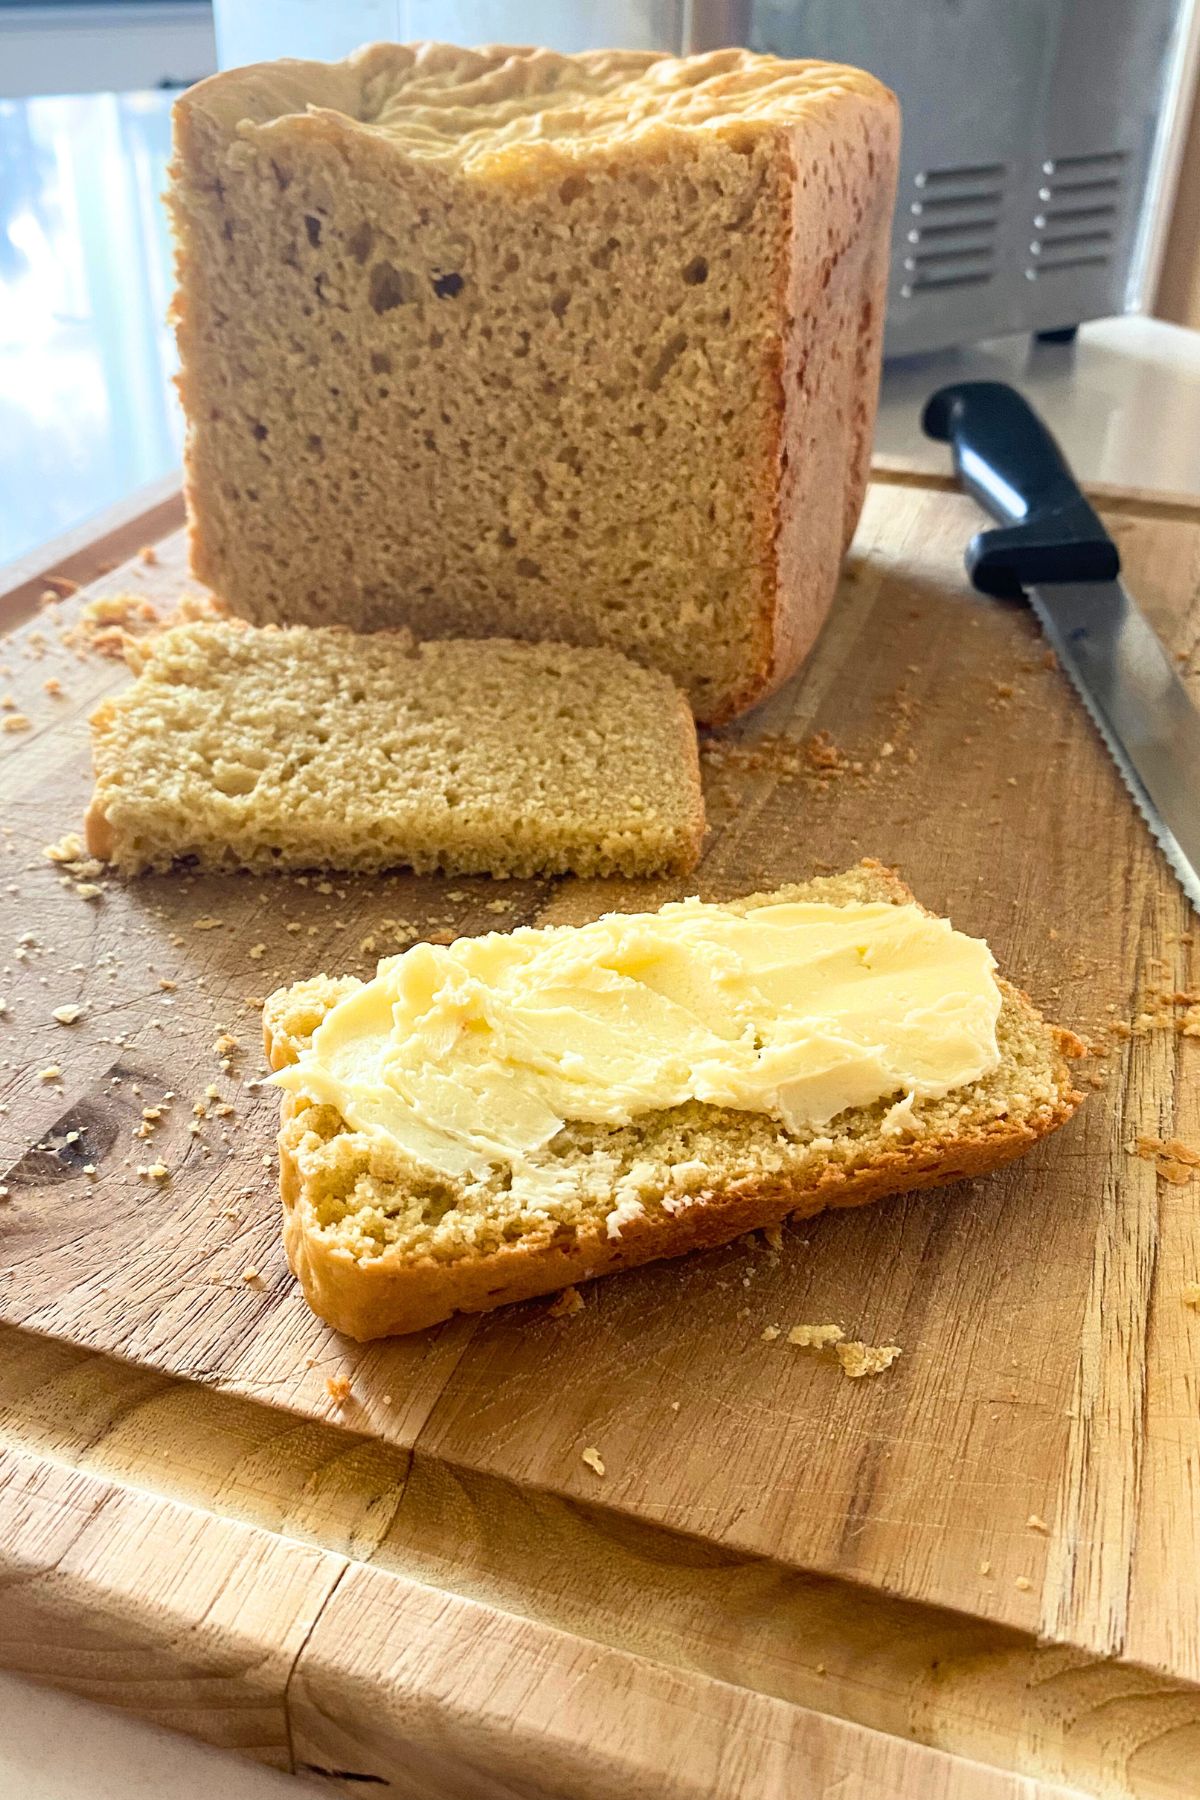
We live thirty minutes from the nearest grocery store so when we needed butter we decided to see if we could make homemade butter faster than we could buy it!
Homemade Butter– Easy, Fun and Delicious
You may already have all the ingredients and tools to make delicious fresh homemade butter (almost) the same way your great great (great?) grandmother did!
Ingredients and Supplies You Will Need:
- Heavy whipping cream
- Sea salt
- A one-quart mason jar or other jar with a tight screw on lid or a small butter churn
- Ice in water in a large bowl
- Slotted spatula or slotted spoon
- Bowl for the finished butter
How to Make Butter
Way back in the day, the cream was skimmed off the top of milk fresh from the family cow and put into a wooden churn. Well, other than my homesteading friends, I don’t know too many people these days who have a milk cow in their backyard, HOA’s being what they are.
So we will be using heavy cream from the store right out of the carton instead. I also don’t know anyone with a real honest-to-goodness wooden churn so we’re going to substitute a jar. I do have a wonderful churn device which fits onto a mason jar. Using the churn is totally optional, but it is kind of fun.
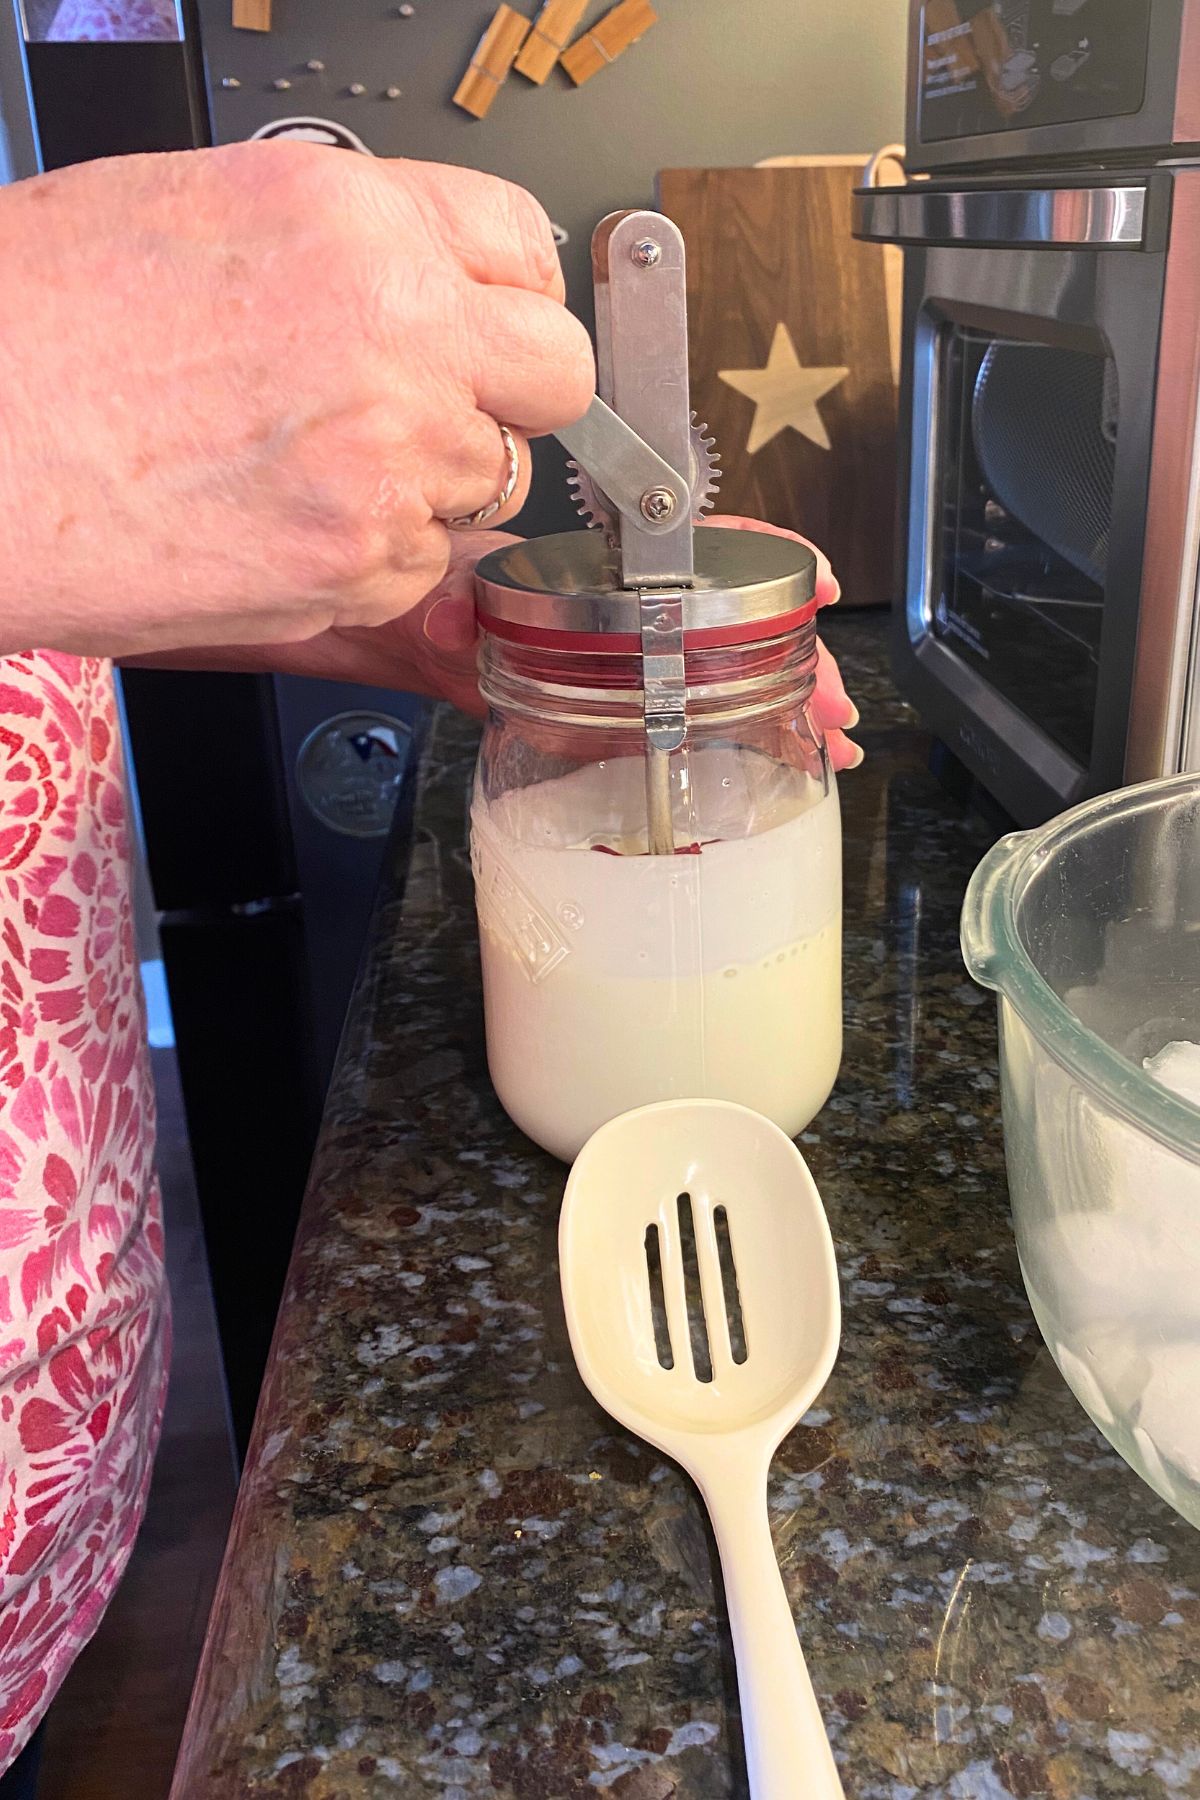
- Fill the mason jar only about half full of the cream. This is so there is enough room for it to turn into first whipped cream and then lovely butter as your child shakes the jar or turns the crank.
- Screw the lid on very tightly and start shaking or cranking. It will take about 15-20 minutes of energetic shaking or cranking for the butter to form. It will seem like nothing is happening and then there is a delightful thump when it suddenly turns into butter!
- Drain off the liquid (the buttermilk … now you know why it’s called that!) You can drink it or use it in cooking.
- Rinse the lump of butter in ice cold water and place in a bowl.
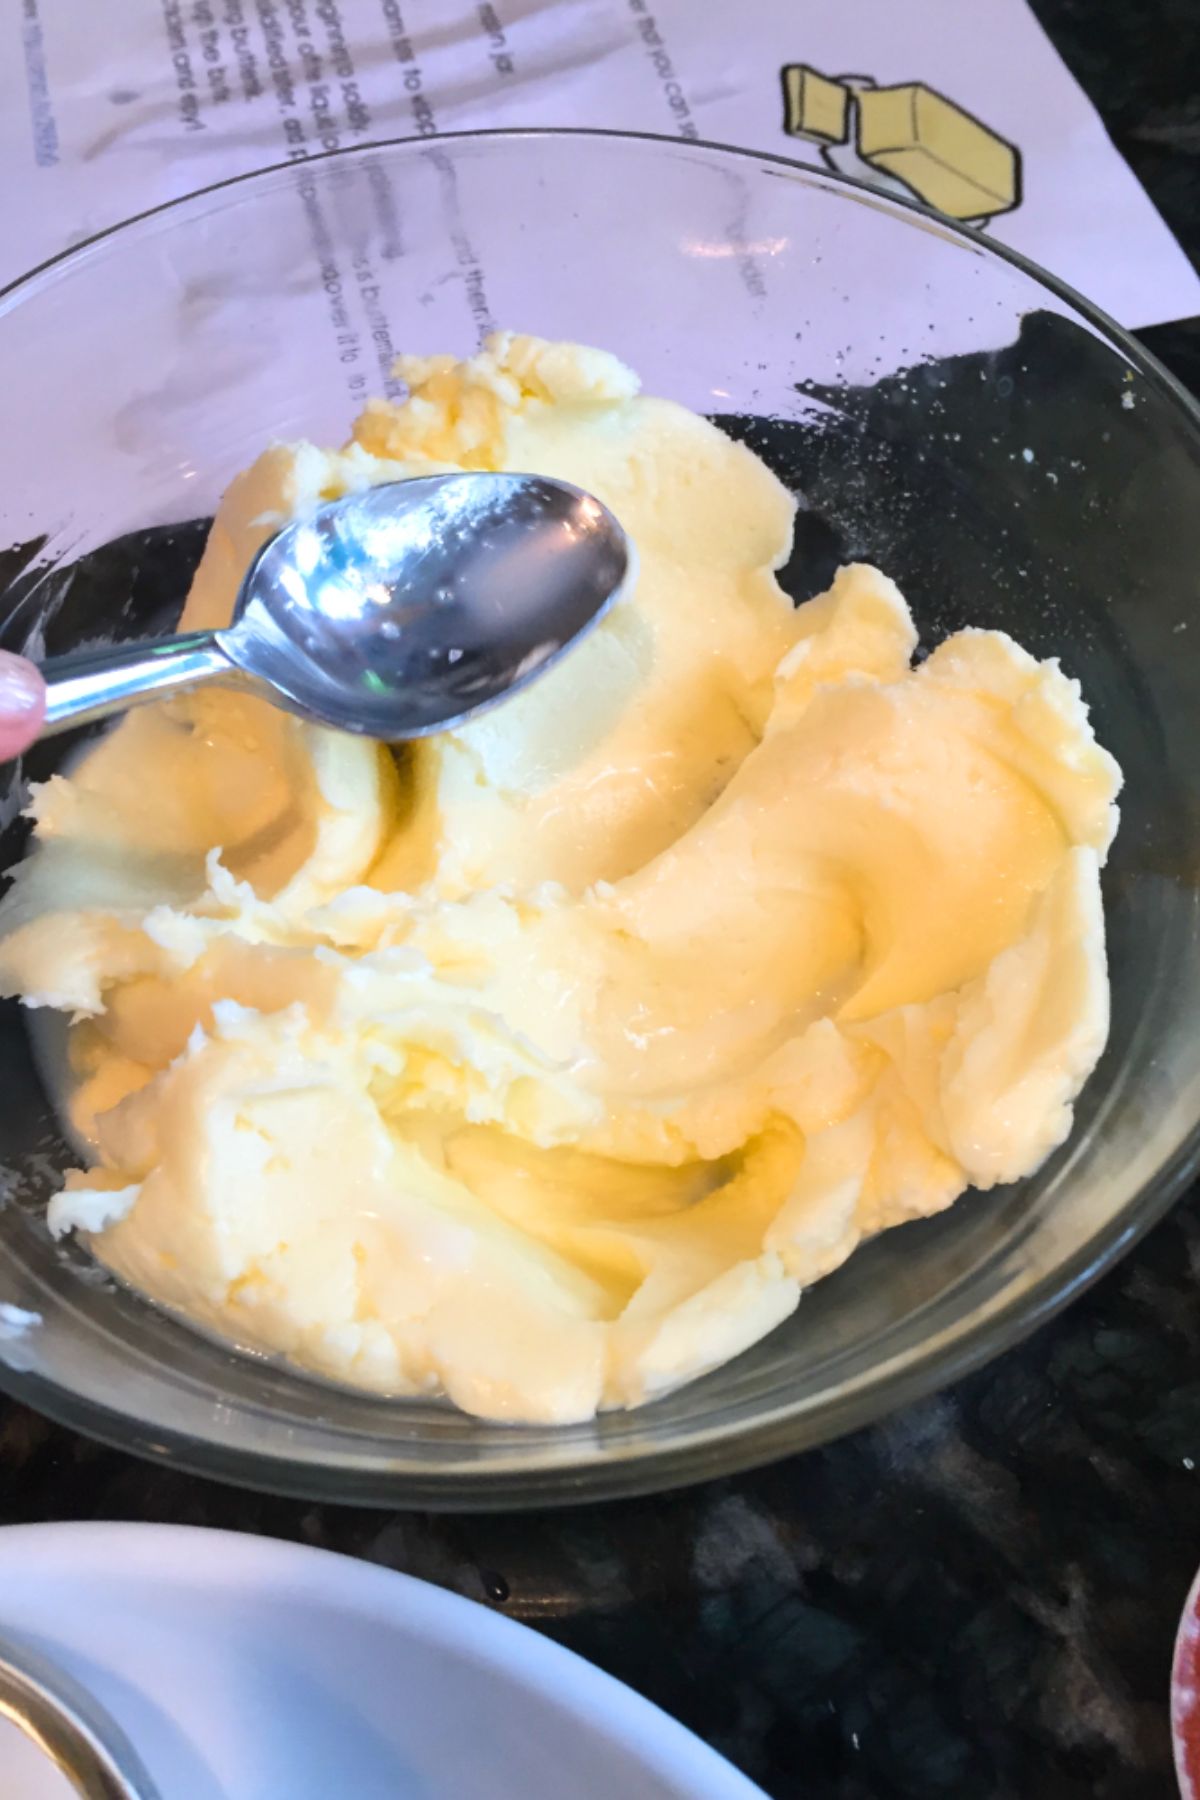
- Add a pinch of salt and then use a slotted spatula or spoon to mash the butter. This helps release any extra buttermilk within the butter. If you leave it in it can cause the butter to go bad quickly. As fast as we eat it this has never been a problem, but if you aren’t going to eat it right away you need to be aware.
- Rinse it one more time in ice water and store in a tightly sealed container in the refrigerator.
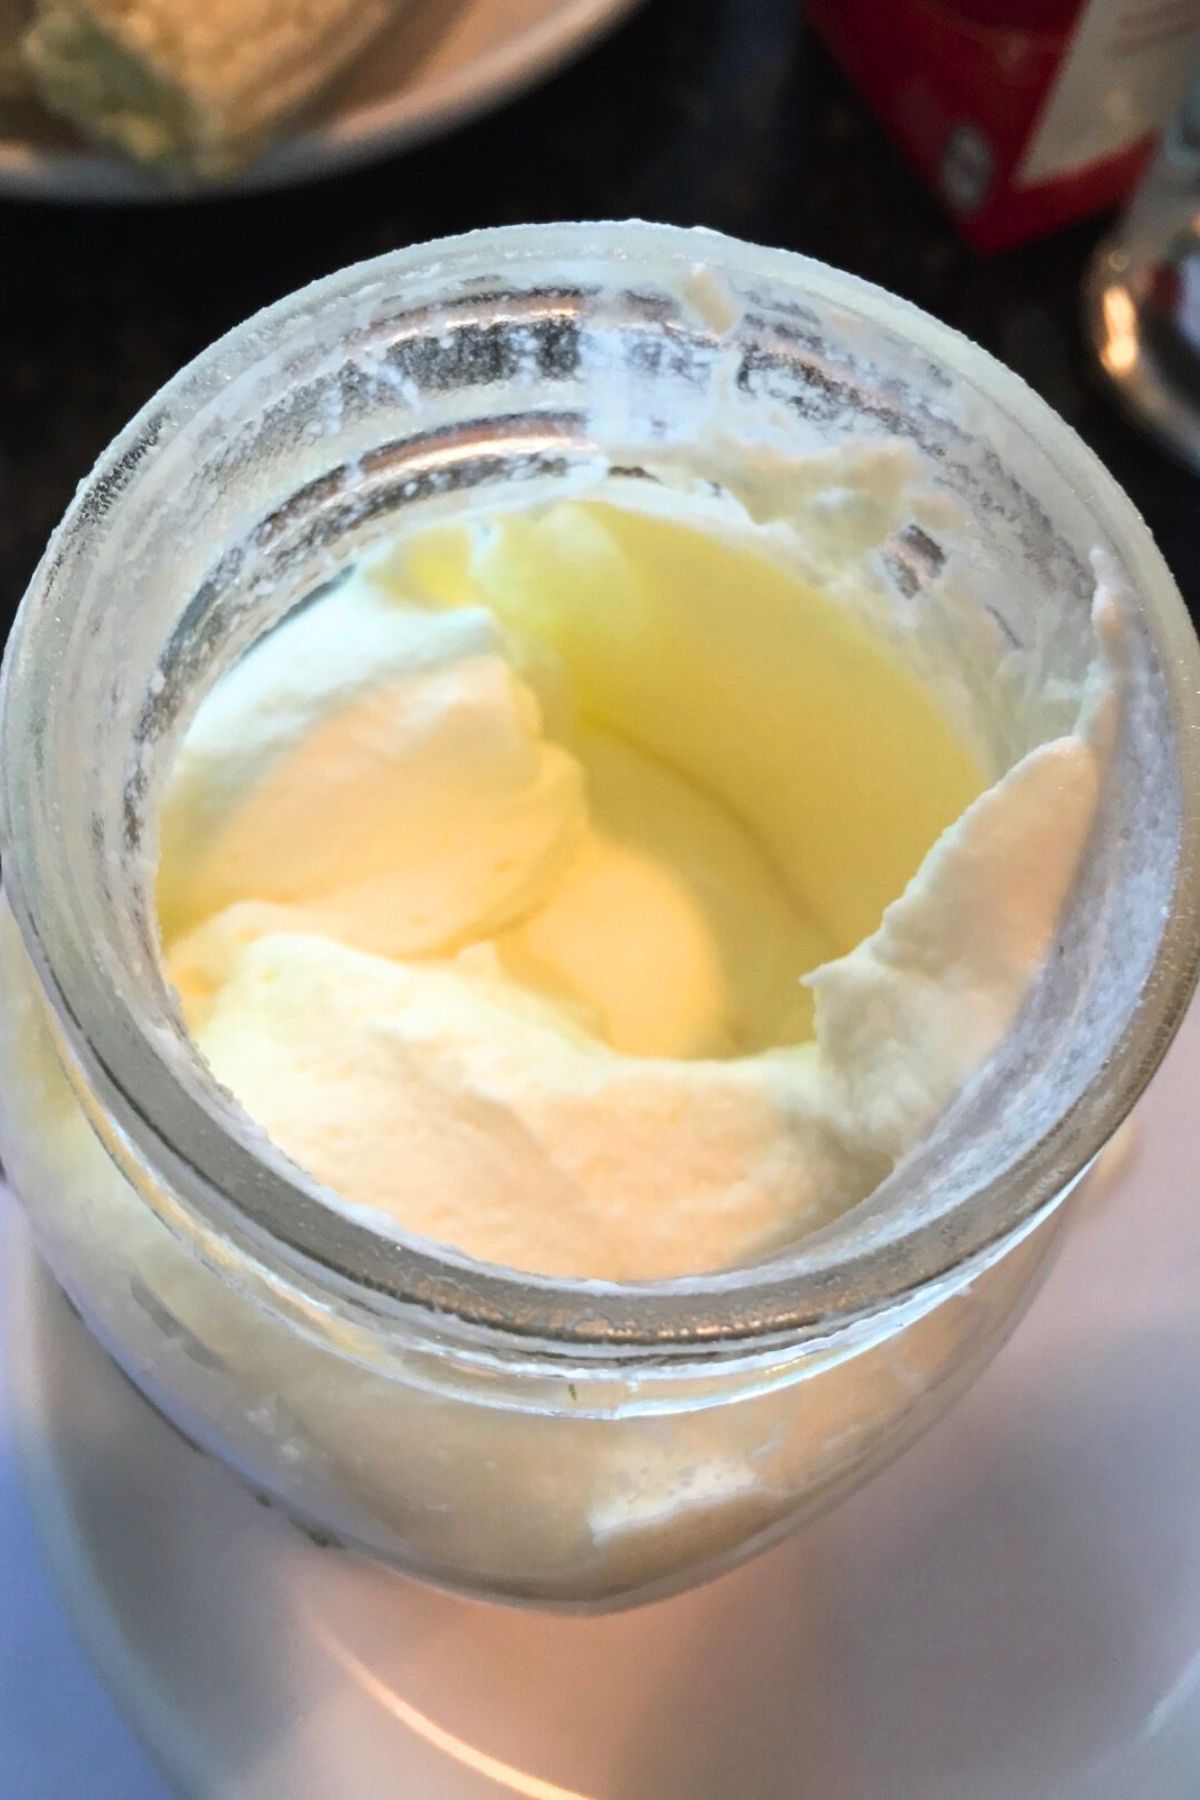
The first time I made this with kids they were upset the butter wasn’t the familiar yellow they were used to. My homesteader friends assure me that milk from the family cow who has been happily munching on good grasses will produce light yellow butter.
Seems like there is more beta-carotene stored in the milk fat than what is commercially produced today. I’m happy the bright yellow dye of my childhood isn’t used as much these days. (Artificial dyes in food is a soapbox for another time though!)
Want to grab a free printable instruction sheet for making your own sweet cream butter? Throw your email in the box below and the download will appear in your inbox:
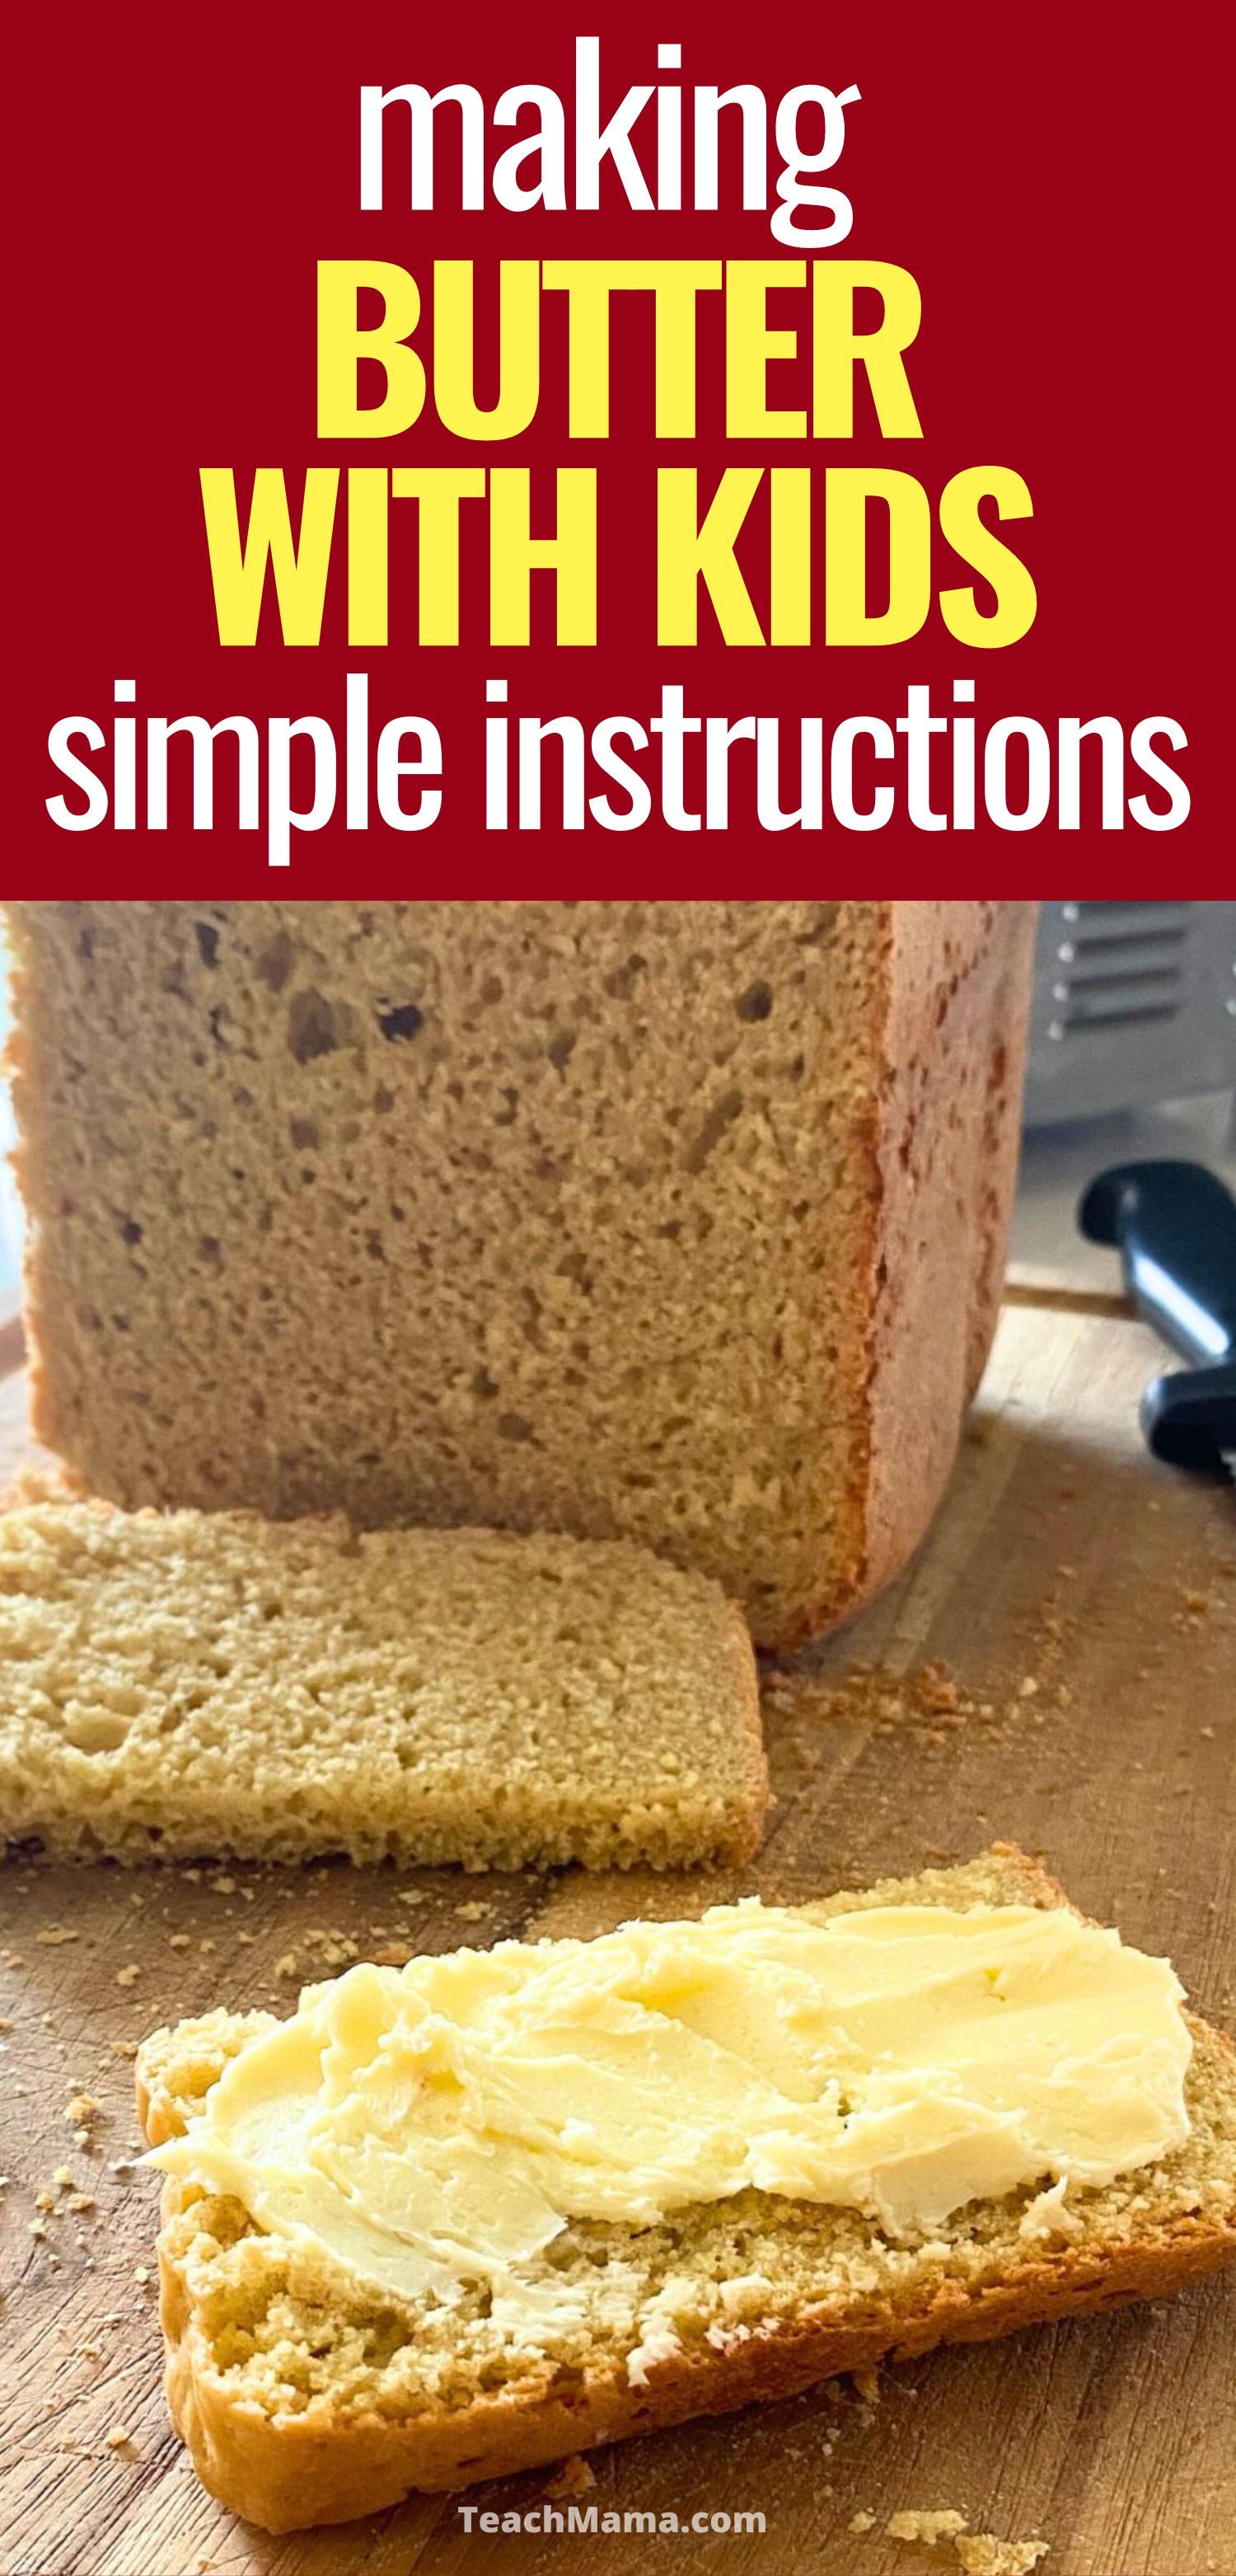
How about some great homemade bread to go with that fresh butter?
Here is a bread maker recipe from our friends at A Modern Homestead that works every time I use it…which is about once a week!
Looking for some other fun Fall activities? Check these out:
- Thanksgiving Thankful Door
- Make a Veggie Turkey Platter
- Fall Owl Craft
- Thanksgiving Printables for Kids
- Our Favorite Cyber Monday Buys
PIN THIS FOR LATER

My kids will love making butter! thanks for sharing!
We did this years ago when I was around 8 or 10. I think we added a marble to the jar to speed up the process.
I made butter with my grandkids one day last winter when we were snowed in. It was so much fun and we were all surprised at how good it turned out to be. (We also added the marble.) thank you for sharing about your adventure with your science experiment!
Wow…what a neat idea! So pinned this! 🙂
I would love for you to share this with my Facebook Group for recipes, crafts, tips, and tricks: https://www.facebook.com/groups/pluckyrecipescraftstips/
Thanks for joining Cooking and Crafting with J & J!
Awesome! How long did it take you to make by shaking it? I remember making it once using a stand mixer and that took 15-20 minutes. I can’t imaging shaking something for that long!! Your posts would be perfect for the Waste Less Wednesday Blog Hop! http://skipthebag.blogspot.com/2016/08/waste-less-wednesday-blog-hop-2.html
jUST WANTED TO LET YOU KNOW YOUR POST IS FEATURED ON iNSPIRE mE mONDAY. 🙂 Congrats! This was always one of my favorite experiments in school. 🙂 (Not sure why, but I don’t seem to be able to use capital letters in this comment.)
thank you, thank you, THANK YOU, my friend!! you made my day!!
I wanted to know if the cream you used is the same cream that can be collected after boiling milk. A heavy layer that settles on top after it boils and cools down.
oh man. . . Roshni–I have no idea. I’m sorry!
Thanks Teach Mama. I had almost lost hope that I can make butter at home on my own as i failed every time. But this time following your tips to make butter, I was not only successful but found butter very delicious too. Thanks a ton!!
yay!! you’re welcome!!! so happy it worked for ou!!!
Just tried for fiirst time and uts success. My husband will be happy as he likes butter very much and its all bcoz of you admin. Thanks for the tips without which home made butter was not possible for me.
yay!! so glad it was a success–it’s pretty easy, right?