
Teacher Appreciation Week is the perfect time to show gratitude to the moms and teachers who inspire and guide our children. A handmade gift, like these charming flower pen pots, adds a personal touch and lets them know how much they’re valued. These thoughtful creations are simple, beautiful, and functional—a win-win for everyone!
Handmade gifts are a heartfelt way to say “thank you,” and flower pen pots make a perfect combination of beauty and practicality. Whether for Teacher Appreciation Week or Mother’s Day, these colorful and creative gifts are a joy to make and a pleasure to give.
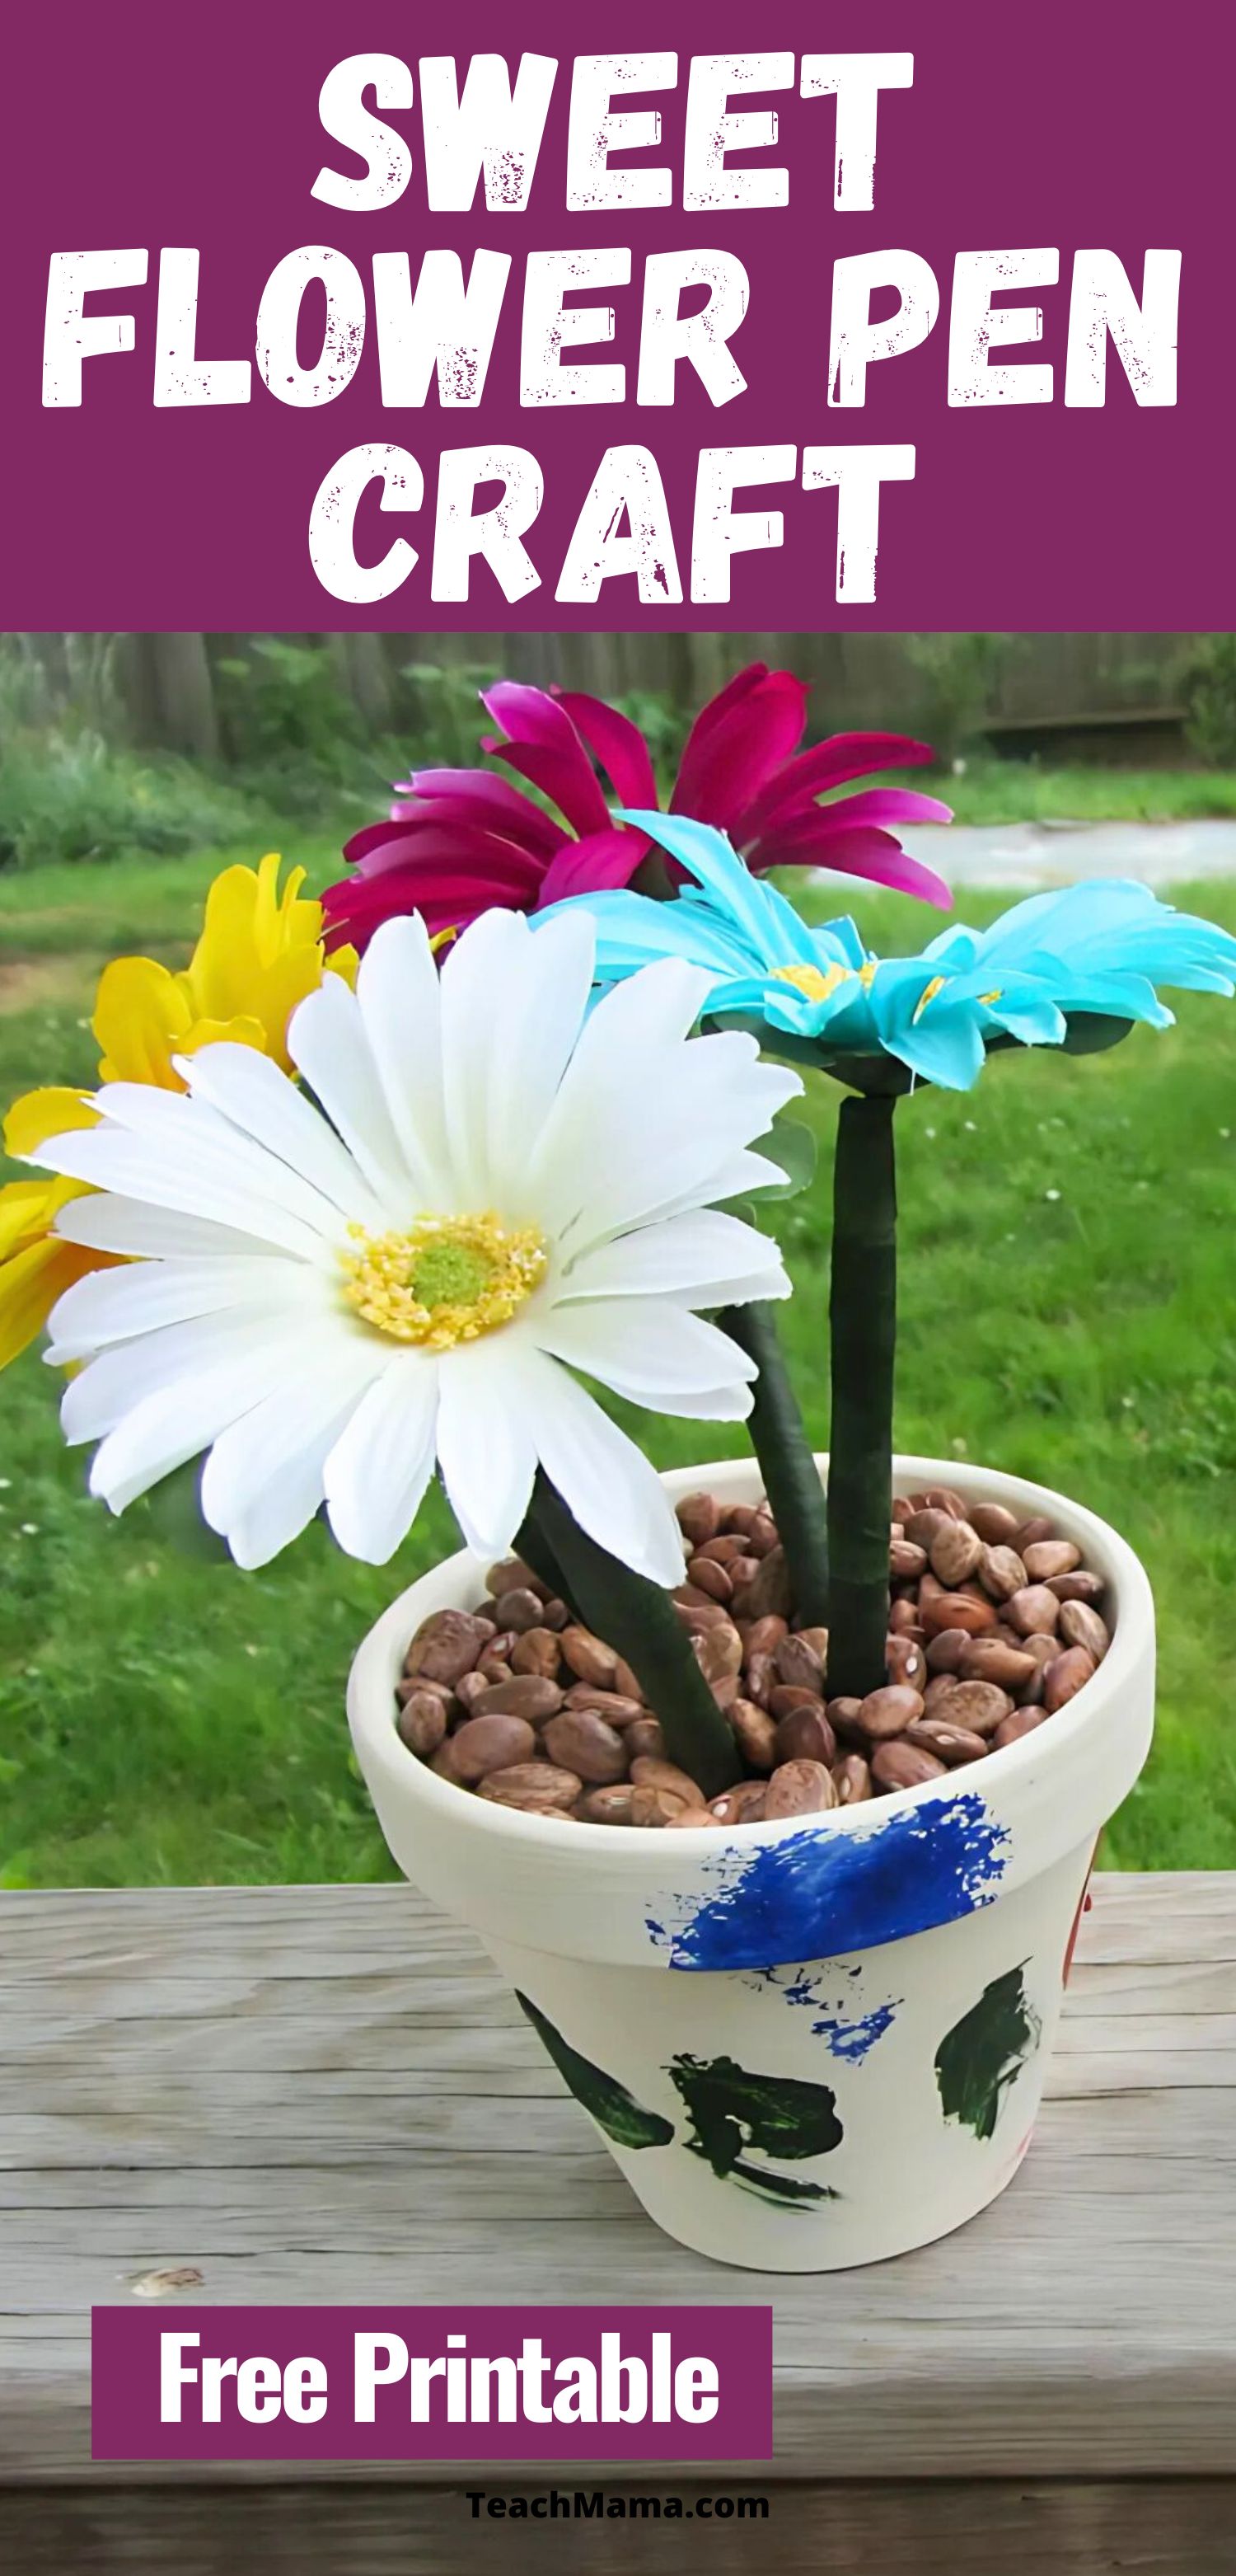
Celebrate Teacher Appreciation Week with Beautiful, Easy-to-Make Flower Pen Pots
Supplies You’ll Need:
- Medium-sized clay flower pots
- Floral tape
- Hot glue gun and sticks
- Empty washed yogurt cup (or small plastic cup- like solo cups)
- Pens (about two packs) Red, Blue and Black
- A large bag of beans (or whatever you plan to fill the pot with)
- Silk flowers (three bunches)
- Wire cutter
- Print out the pre-made note cards below
- Variety of acrylic paint
- Paint brushes
- Palettes (paper plates, muffin tins or actual palettes)
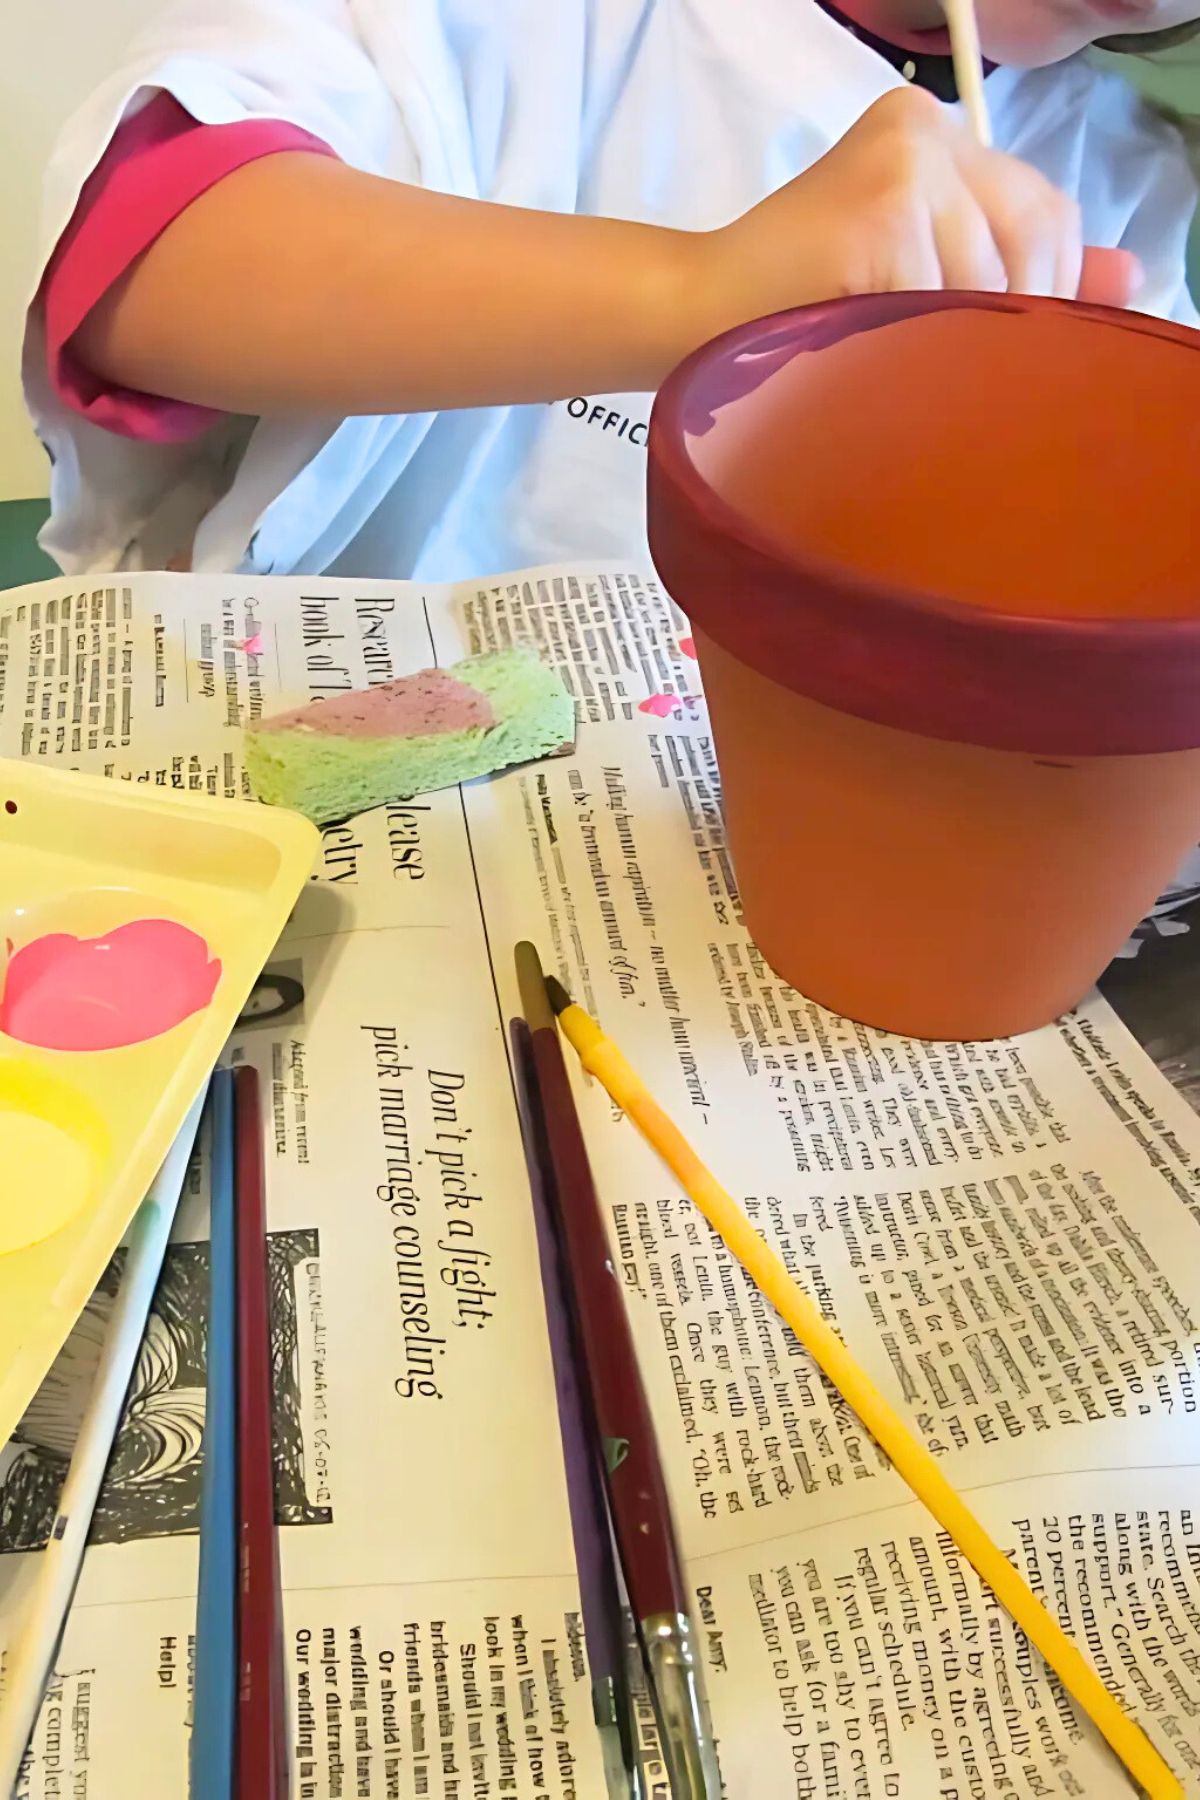
Step 1: Painting the Pot
Start by painting your flower pots in bright, cheerful colors. I recommend using acrylic paint, it’s just so easy to clean up! Let your little artists choose their favorite shades, and provide palettes to make the process easy and mess-free. You may want to provide an apron, smock or old t-shirt for the more exuberant artists!
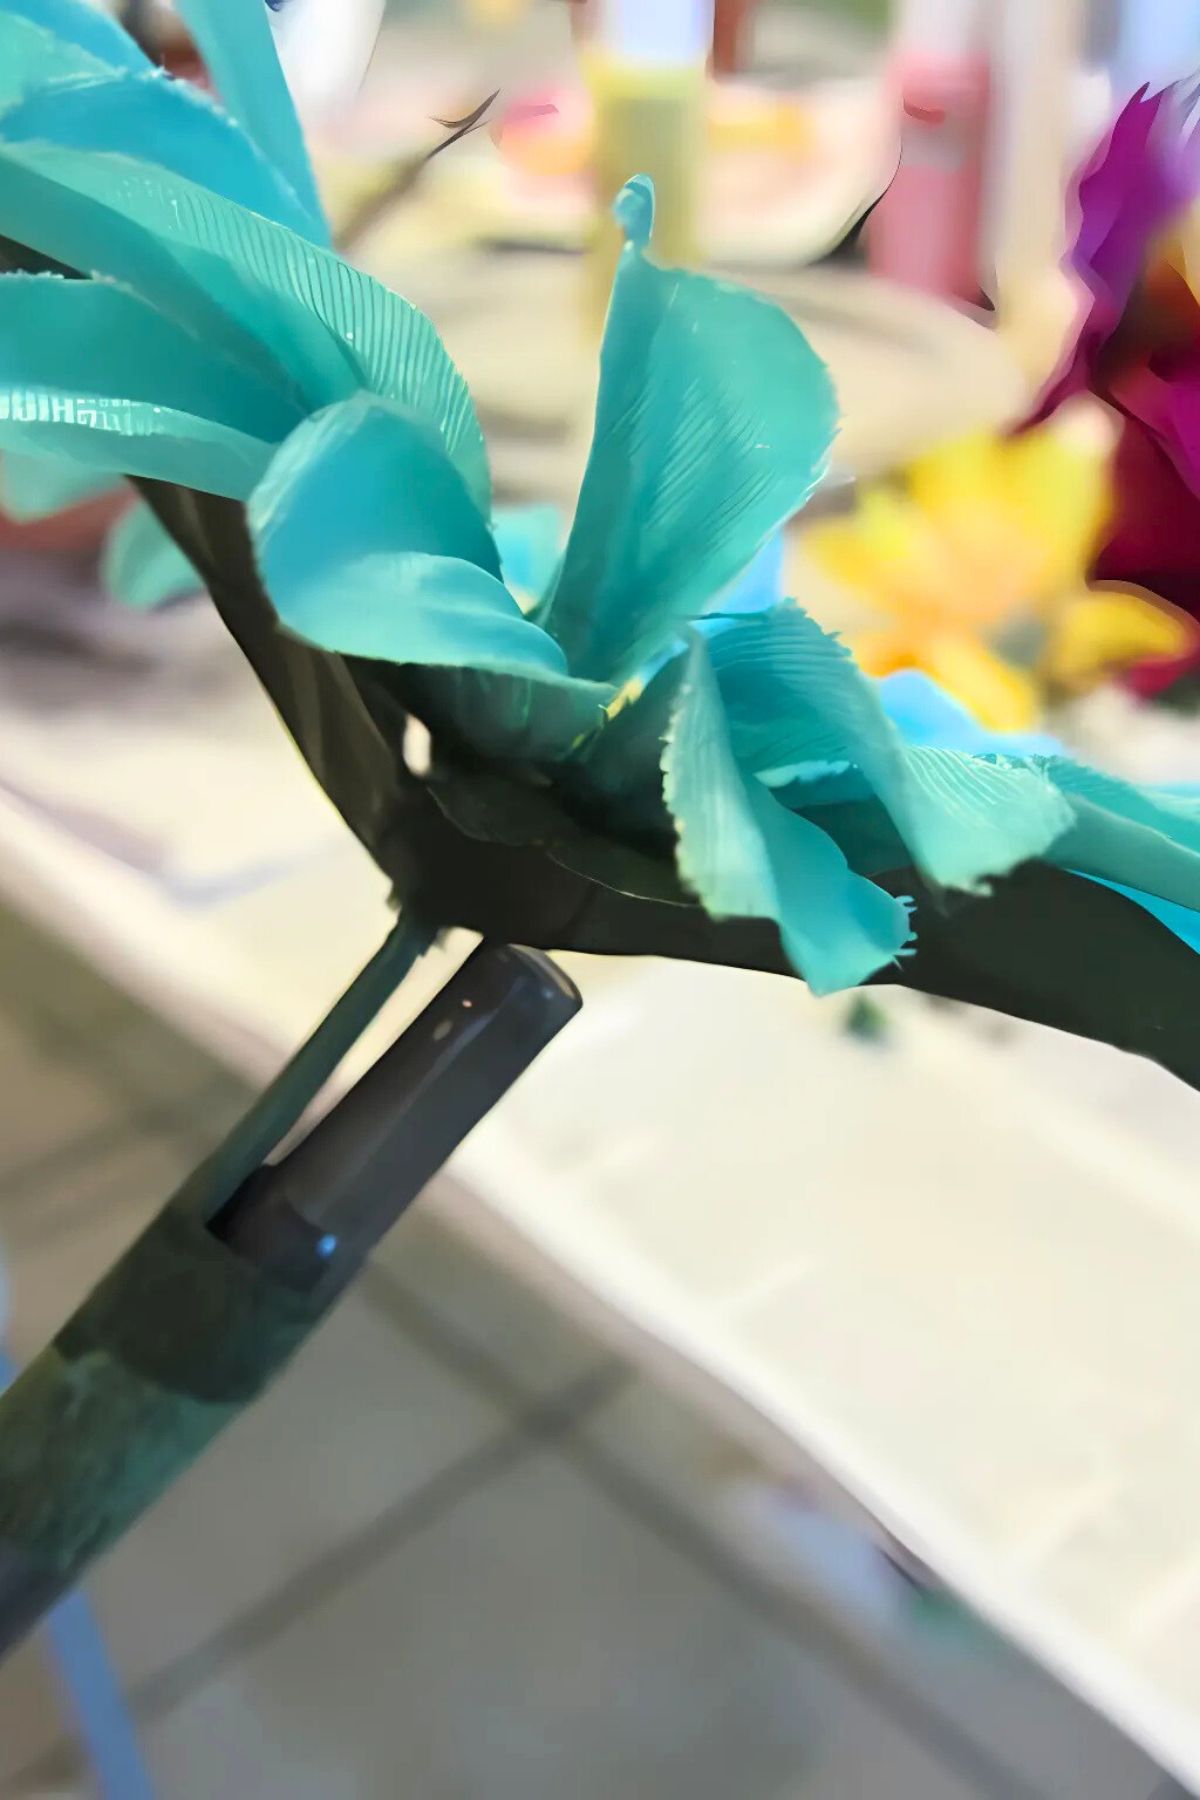
Step 2: Assembling the Flower Pens
Making flower pens is simple and satisfying:
- Cut the silk flower stems, leaving about 2–3 inches below each flower.
- Remove the leaves and attach them loosely beneath the flower for coverage.
- Secure the flower to the pen with a small piece of floral tape.
- Wrap floral tape tightly around the entire pen, starting at the top and working down, then back up for extra stability.
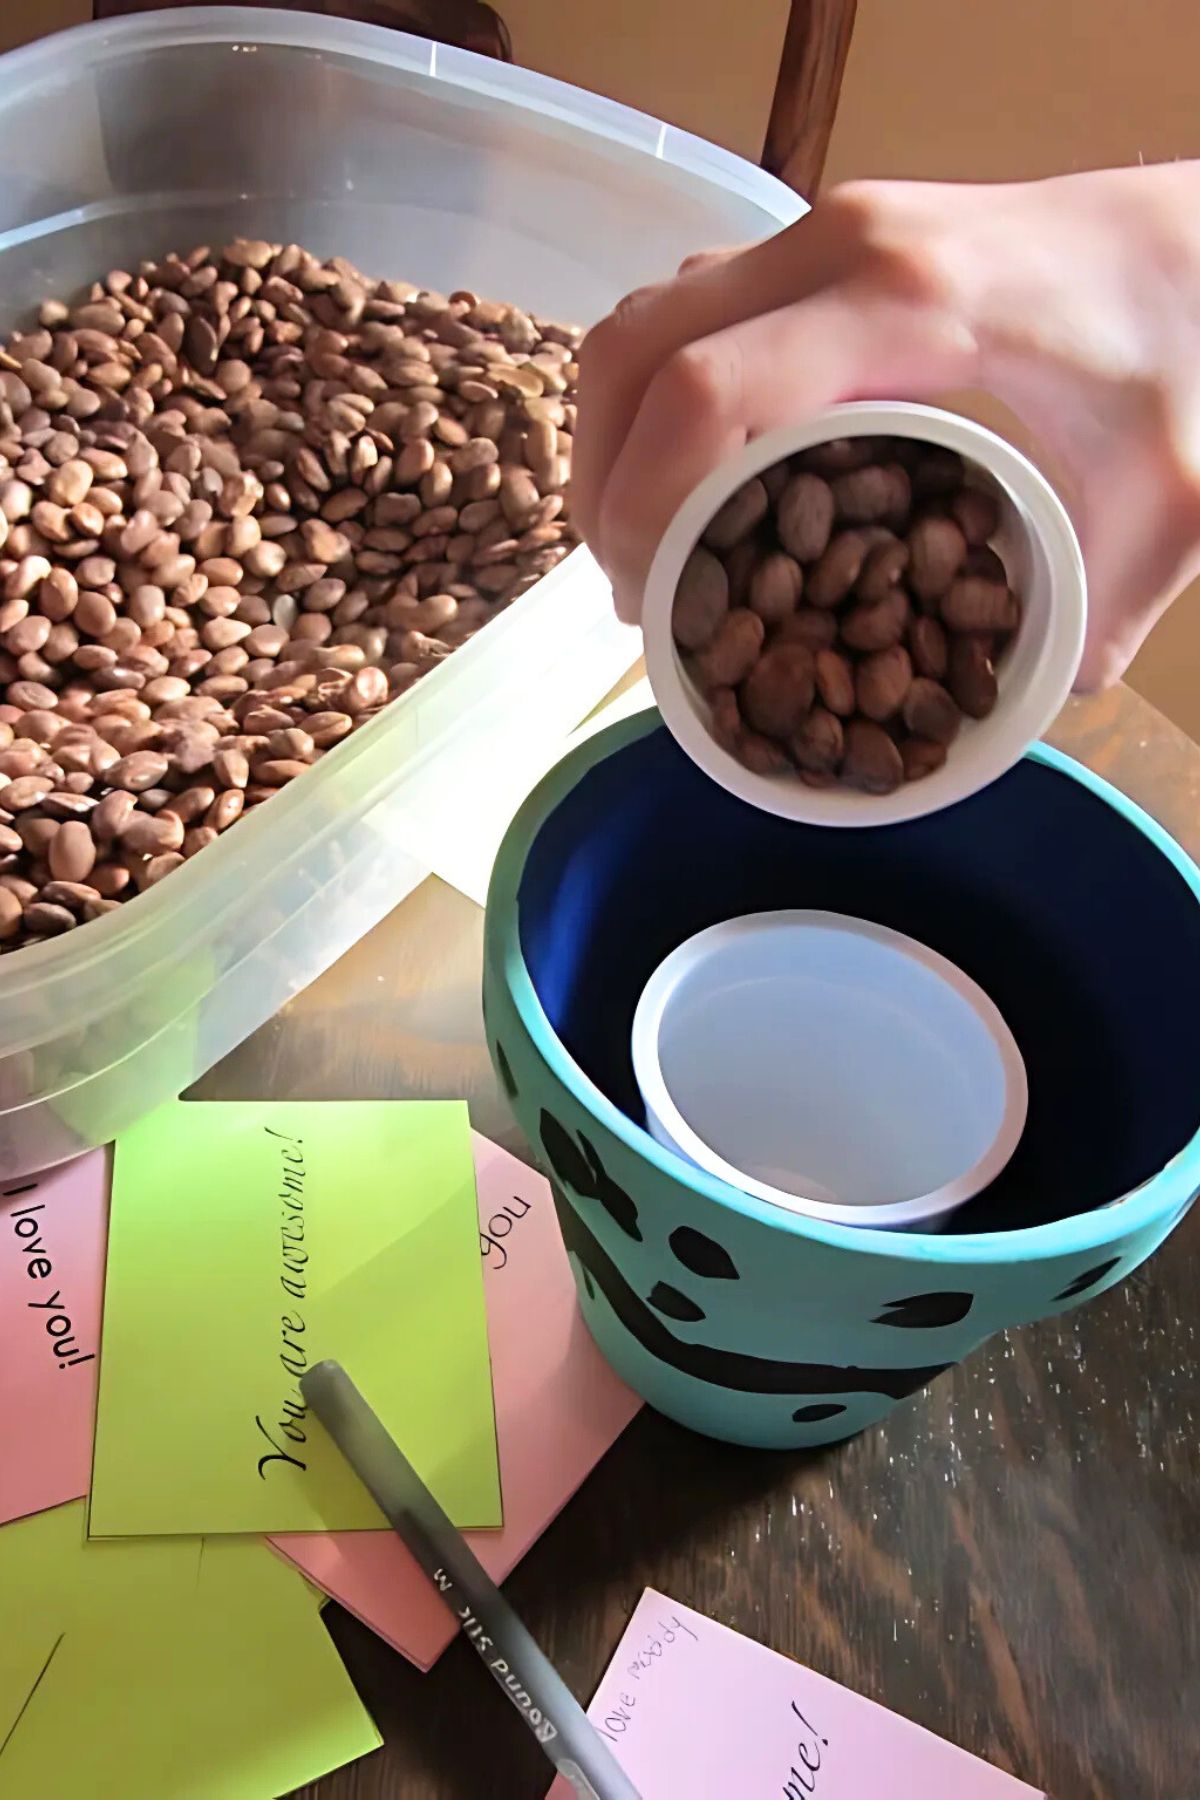
Step 3: Preparing the Pots
To keep the pens upright and organized, hot glue a small yogurt container (or small solo type cup) inside each flower pot to cover the drain hole. Fill the pots with beans to hold the pens in place. Other filler options include coffee beans, rocks, or decorative beads.
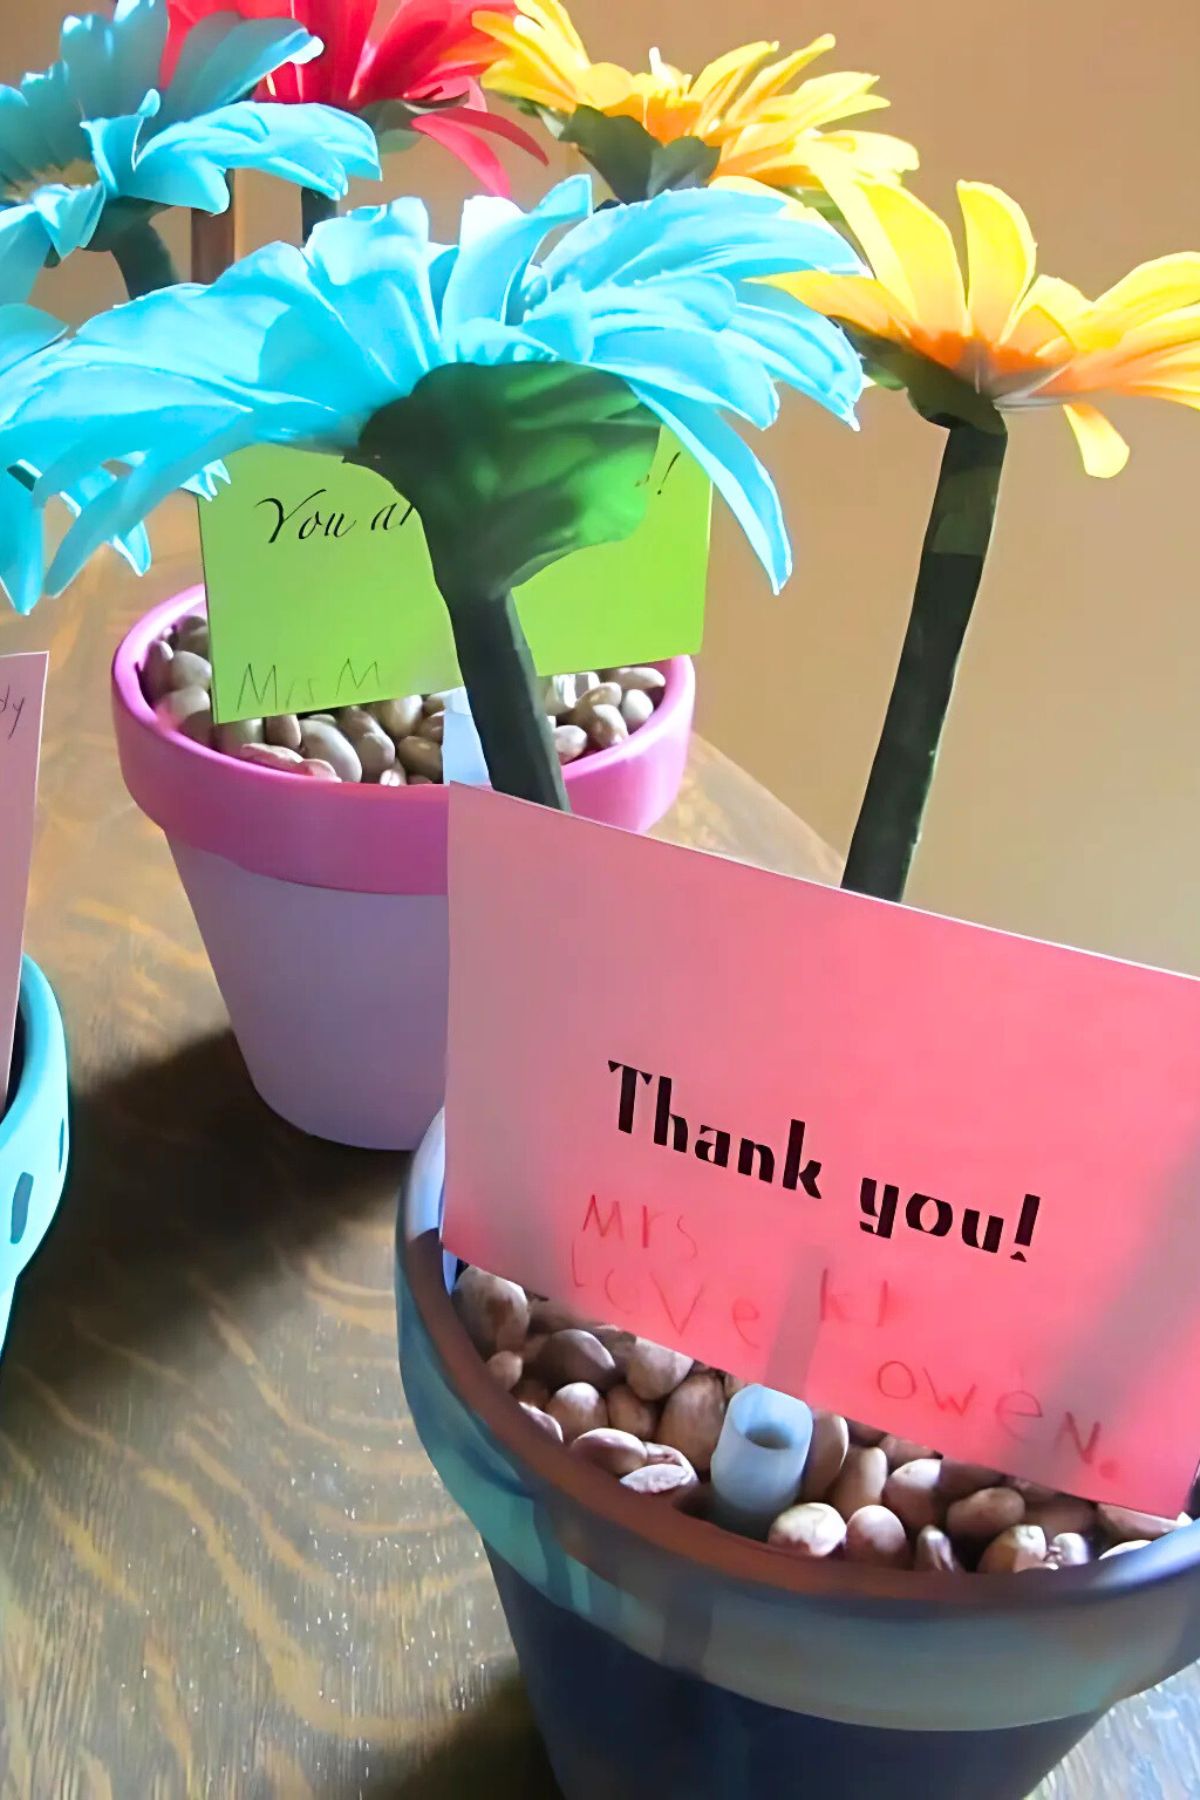
Step 4: Adding the Final Touch
Print or create personalized notes for each pot with messages like:
- “You are awesome!”
- “Thank you for all you do!”
- “Here’s a hug for you!”
Tape these notes to the pen caps, which can double as cardholders. Plant the flower pens in the bean-filled pots, and your thoughtful gift is ready to brighten a teacher’s day!
Parents don’t realise the notes can be part of the gift too,” says Tom Willday, founder of SeedPrint, a UK maker of plantable, fully recycled seed paper for stationery and cards. “Print them on seed paper instead of ordinary card stock, and the same tag that says thank you can be planted once the pens are back on the desk, so the gift keeps growing after the flowers have faded.
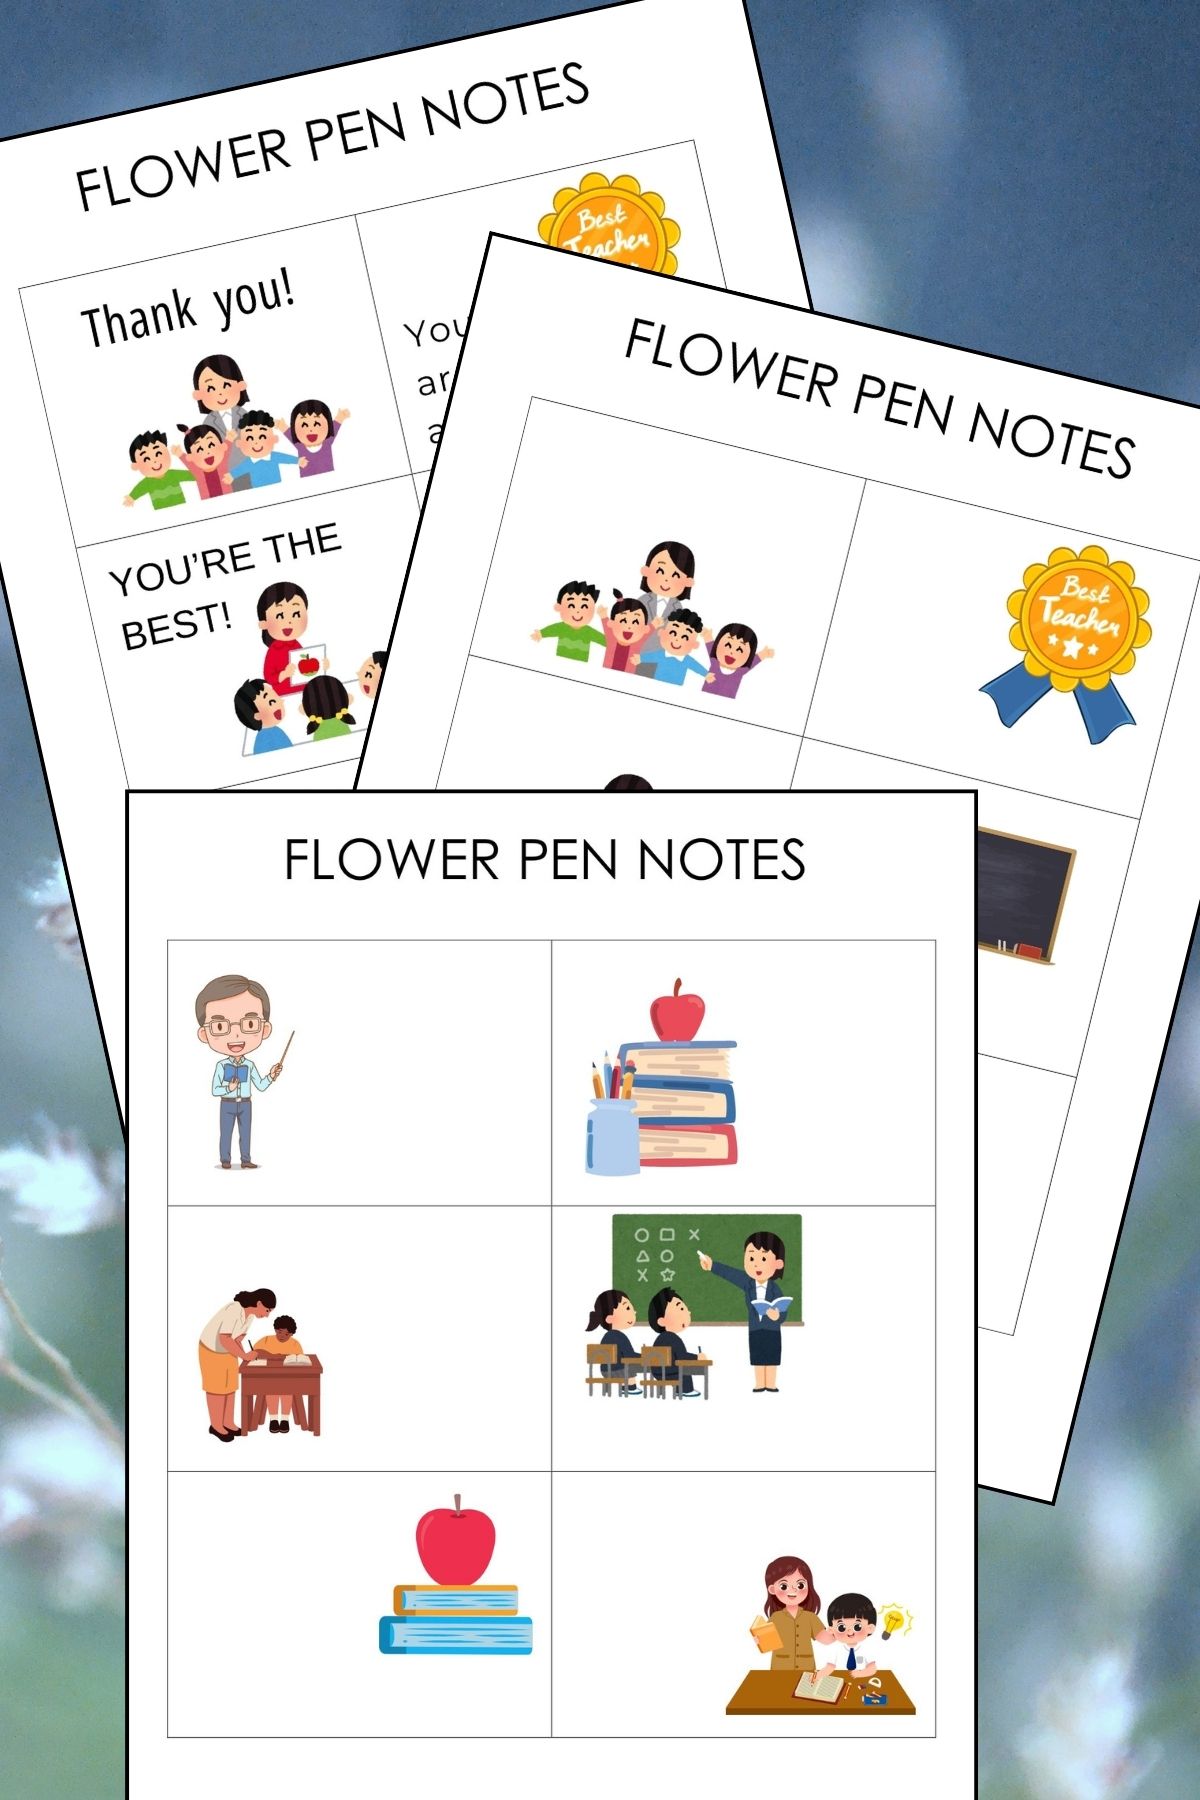
Want Your Own Copy of the Flower Pen Notes?
Just throw your email in the box below and the download link will appear in your inbox like magic!
Looking for more great handmade crafts?
- Thumb Print Note Cards
- Sweet Butterfly Pens
- Three Fall Owl Crafts For Kids
- Quick, Cool Teacher Appreciation Gifts
PIN THIS FOR LATER
20 comments
Love these! My kids classes at preschool use these pens when we sign ina nd it looks so cheerful and makes the kids happy. Pinning this! Vicky from http://www.messforless.net
thanks so much Vicky!! TOTALLY appreciate the pin and can’t thank you enough for reading, my friend! I agree–they make ME happy too!!
Such a cute idea! Love the innovative use of the pen cap too. I want to make one for me! 🙂
I’ve always wondered how to make pens like that, and teachers can really use these. Practical, helpful, and fun as the children can give something they made themselves. Thanks so much! Carolyn
Love this idea. What about doing a rainbow pot next time? I just ran across the rainbow pot idea online yesterday. Thinking I will combine them for this year’s mother’s day! http://www.dillydaliart.com/2012/04/rainbow-pour-painting-on-terra-cotta.html
Megan. LOVE. THIS. IDEA!! Thanks so much for sharing–I’ve never heard of pour painting, so I’m totally psyched. Many thanks!!
I really like this idea and I am going to make them and put them on each of the desk in my office, this is a cute way to have something cheerful in the office and maybe stop people from stealing my pens, lol. Thanks for the step by step instructions, makes it very easy to complete the task.
Bobbi–you are so welcome!! Please do share a photo of yours when you finish them–I’d love to see them!
If you use Bic round Stic pens, the bottoms pop off and you can put the stem INSIDE the pen so that the pen isn’t uneven on the outside. Also, I have found that a coat of Mod Podge over the stems helps to secure the floral tape so it doesn’t unravel — it also takes away that slightly sticky feel of the floral tape!
Jennifer. That’s why I need more creative, crafty, and totally cool people in my life like you. THANK YOU!! I will take those tips and put them to use the very next time I’m flower-pen making!! Thank you thank you thank you for reading and HUGE thanks for taking the time to share these super tips!
[…] we made flower pens for our teachers and grandmothers and great-grandmother last year, the response was so great that […]
[…] flower pens […]
[…] flower pens […]
I’ve done them with black beans – they look more like soil!
JULIE! Super idea! And black beans are probably a wee bit more affordable, too! THANK YOU!
Lovely project. Pinned & shared. Thanks for sharing at the #InspirationSpotlight party. See you again soon!
[…] flower pens […]
[…] flower pens […]
[…] flower pens […]
[…] flower pens […]