School projects offer kiddos a great opportunity to learn, grow, and develop life-skills like time management and critical thinking. With the right guidance, your child can breeze-through their next project with confidence. Here’s a step-by-step guide with a free printable planning worksheet to help you and your child survive the project process with ease.
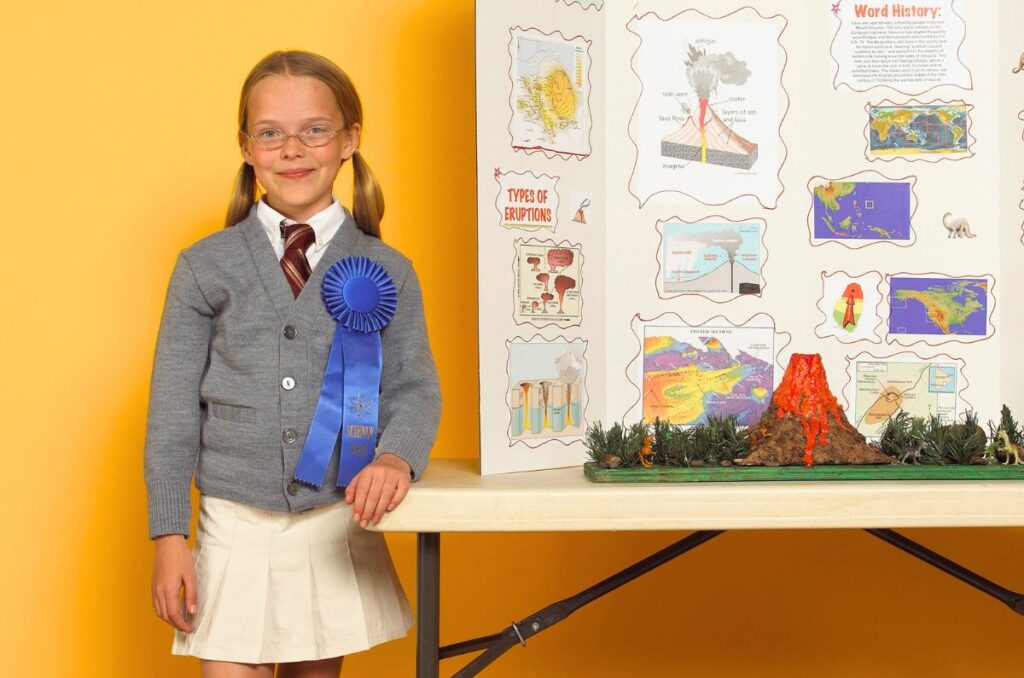
I wish I had a nickel for every time one of our kids said something like, “Mom. I have to make a volcano by tomorrow.” After I counted to ten, we got to work and did the best we could. Things sure would have been better if we could have planned and worked together to do that volcano (or whatever it was) right!
Plan That School Project Like a Pro
1. Understanding the Project Guidelines
Before diving into the project, take time to understand the teacher’s expectations. Review the assignment details carefully with your child.
- Key Questions to Answer:
- What is the project’s purpose or theme?
- Does the project need teacher approval?
- What are the important due dates?
- Are there specific materials or formats required (e.g., poster, diorama, or written report)?
- What is the word or time limit if applicable?
- Is this a solo or a group project?
- Tips for Parents:
- Create a checklist of requirements to ensure all elements are addressed (or download our handy worksheet below).
- Reach out to the teacher for clarification if anything is unclear.
2. Setting a Timeline
Instead of waiting until the last minute, how about helping your child manage their time effectively? Breaking the project into smaller tasks and assigning deadlines to each task can make the whole thing a lot less stressful and deliver a better project!
Key Dates to Plan:
- Picking a Topic and Teacher Approval:
- Aim to decide on a topic at least 3–4 weeks before the due date if possible.
- Make sure the topic aligns with the project theme and is something your child wants to do.
- Have your child submit their topic for teacher approval as soon as possible, leaving plenty of time for any adjustments if needed.
- Information Gathering:
- Dedicate time for research. Plan trips to the library or schedule time for online research under your supervision.
- Creating the Project:
- Reserve 1–2 weeks for crafting or assembling the project. This might involve writing drafts, building models, or creating visual aids.
- Final Review and Practice:
- Allow 3–5 days for editing, revisions, and rehearsing any presentations.
How You Can Help:
- Use a visual calendar or planner to map out deadlines. I have included a handy project planning worksheet download below.
- Leave some extra time for those things that always go wrong!
3. Picking the Perfect Topic
Choosing a project topic is one of the most exciting steps, but it can also be overwhelming. Here are some tips to help you guide your child:
- Encourage Exploration: Ask your child about their favorite subjects, hobbies, or interests. If the project is science-based, for example, they might explore a favorite animal or an experiment involving their favorite foods.
- Relevance: Help your child ensure their topic meets the assignment requirements.
- Feasibility: Consider the time, materials, and resources required. Avoid overly ambitious projects that may become stressful.
Example Topics by Subject:
- Science: “The Science Behind Rainbows” or “How Plants Grow in Different Conditions”
- History: “Life in Ancient Egypt” or “The Story of the Underground Railroad”
- Art: “The Evolution of Pop Art” or “Recreating Famous Masterpieces”
4. Research and Information Gathering
With a topic selected and approved, it’s time to dive into research. Show your child how to find reliable information and encourage them to keep track of their sources. Keeping a project notebook or folder for index cards is a great idea.
Where to Look:
- Books and Encyclopedias: Visit your local library for age-appropriate materials.
- Online Resources: Teach your child to use kid-friendly websites, such as National Geographic Kids or Britannica Kids.
- Experts and Interviews: If relevant, consider reaching out to local professionals or experts your child can interview.
Tools to Organize Research:
- Note Cards: Write down key facts on index cards, one idea per card, to keep information organized.
- Graphic Organizers: Use charts, diagrams, or outlines to visually arrange ideas. It doesn’t have to be pretty at this stage. Just readable!
5. Creating the Project
Once the research phase is complete, it’s time to bring the project to life. This is where creativity meets execution.
Breaking It Down:
- Outline the Content:
- If it’s a report, create an outline with an introduction, body, and conclusion.
- For creative projects, sketch a plan or storyboard.
- Gather Materials:
- Create a list of all materials needed and gather them ahead of time. Don’t wait until the last minute to shop for poster boards or craft supplies.
- Assemble the Project:
- Work on one section at a time to prevent your child from feeling overwhelmed.
- Encourage your child to focus on neatness and organization.
- Practice Presenting (if applicable):
- Have your child practice presenting their project aloud to build confidence.
- Provide constructive feedback and help them anticipate questions.
6. Review and Refine
Before the project is done and dusted, take some time to review and offer suggestions so your child can review and polish their project.
Checklist for Final Review:
- Spelling and Grammar: Proofread written elements together or use spell-check tools.
- Completeness: Compare the project to the teacher’s checklist to make sure all requirements are met.
- Aesthetic Appeal: Confirm that the project is visually appealing and easy to follow.
- Functionality: For interactive projects or experiments, check everything to make sure it works. Nothing is worse than a dormant volcano on eruption day!
Your Role:
- Be a guide rather than taking over. By avoiding that last minute oh-my-gosh-why-didn’t-you-tell-me-before-now rush, you can help your child discover their own talents and abilities. Let that kiddo make choices (and small mistakes) now to build their resilience and sense of accomplishment.
- I couldn’t always be at school for every project or book report but I went when I could. If you can go, and the teacher encourages parents to attend, by all means make time to go if you can.
- Always praise hard work and effort!
By breaking the project into manageable steps and offering support along the way, you’ll help your child build confidence, responsibility, and problem-solving skills for life, not just school.
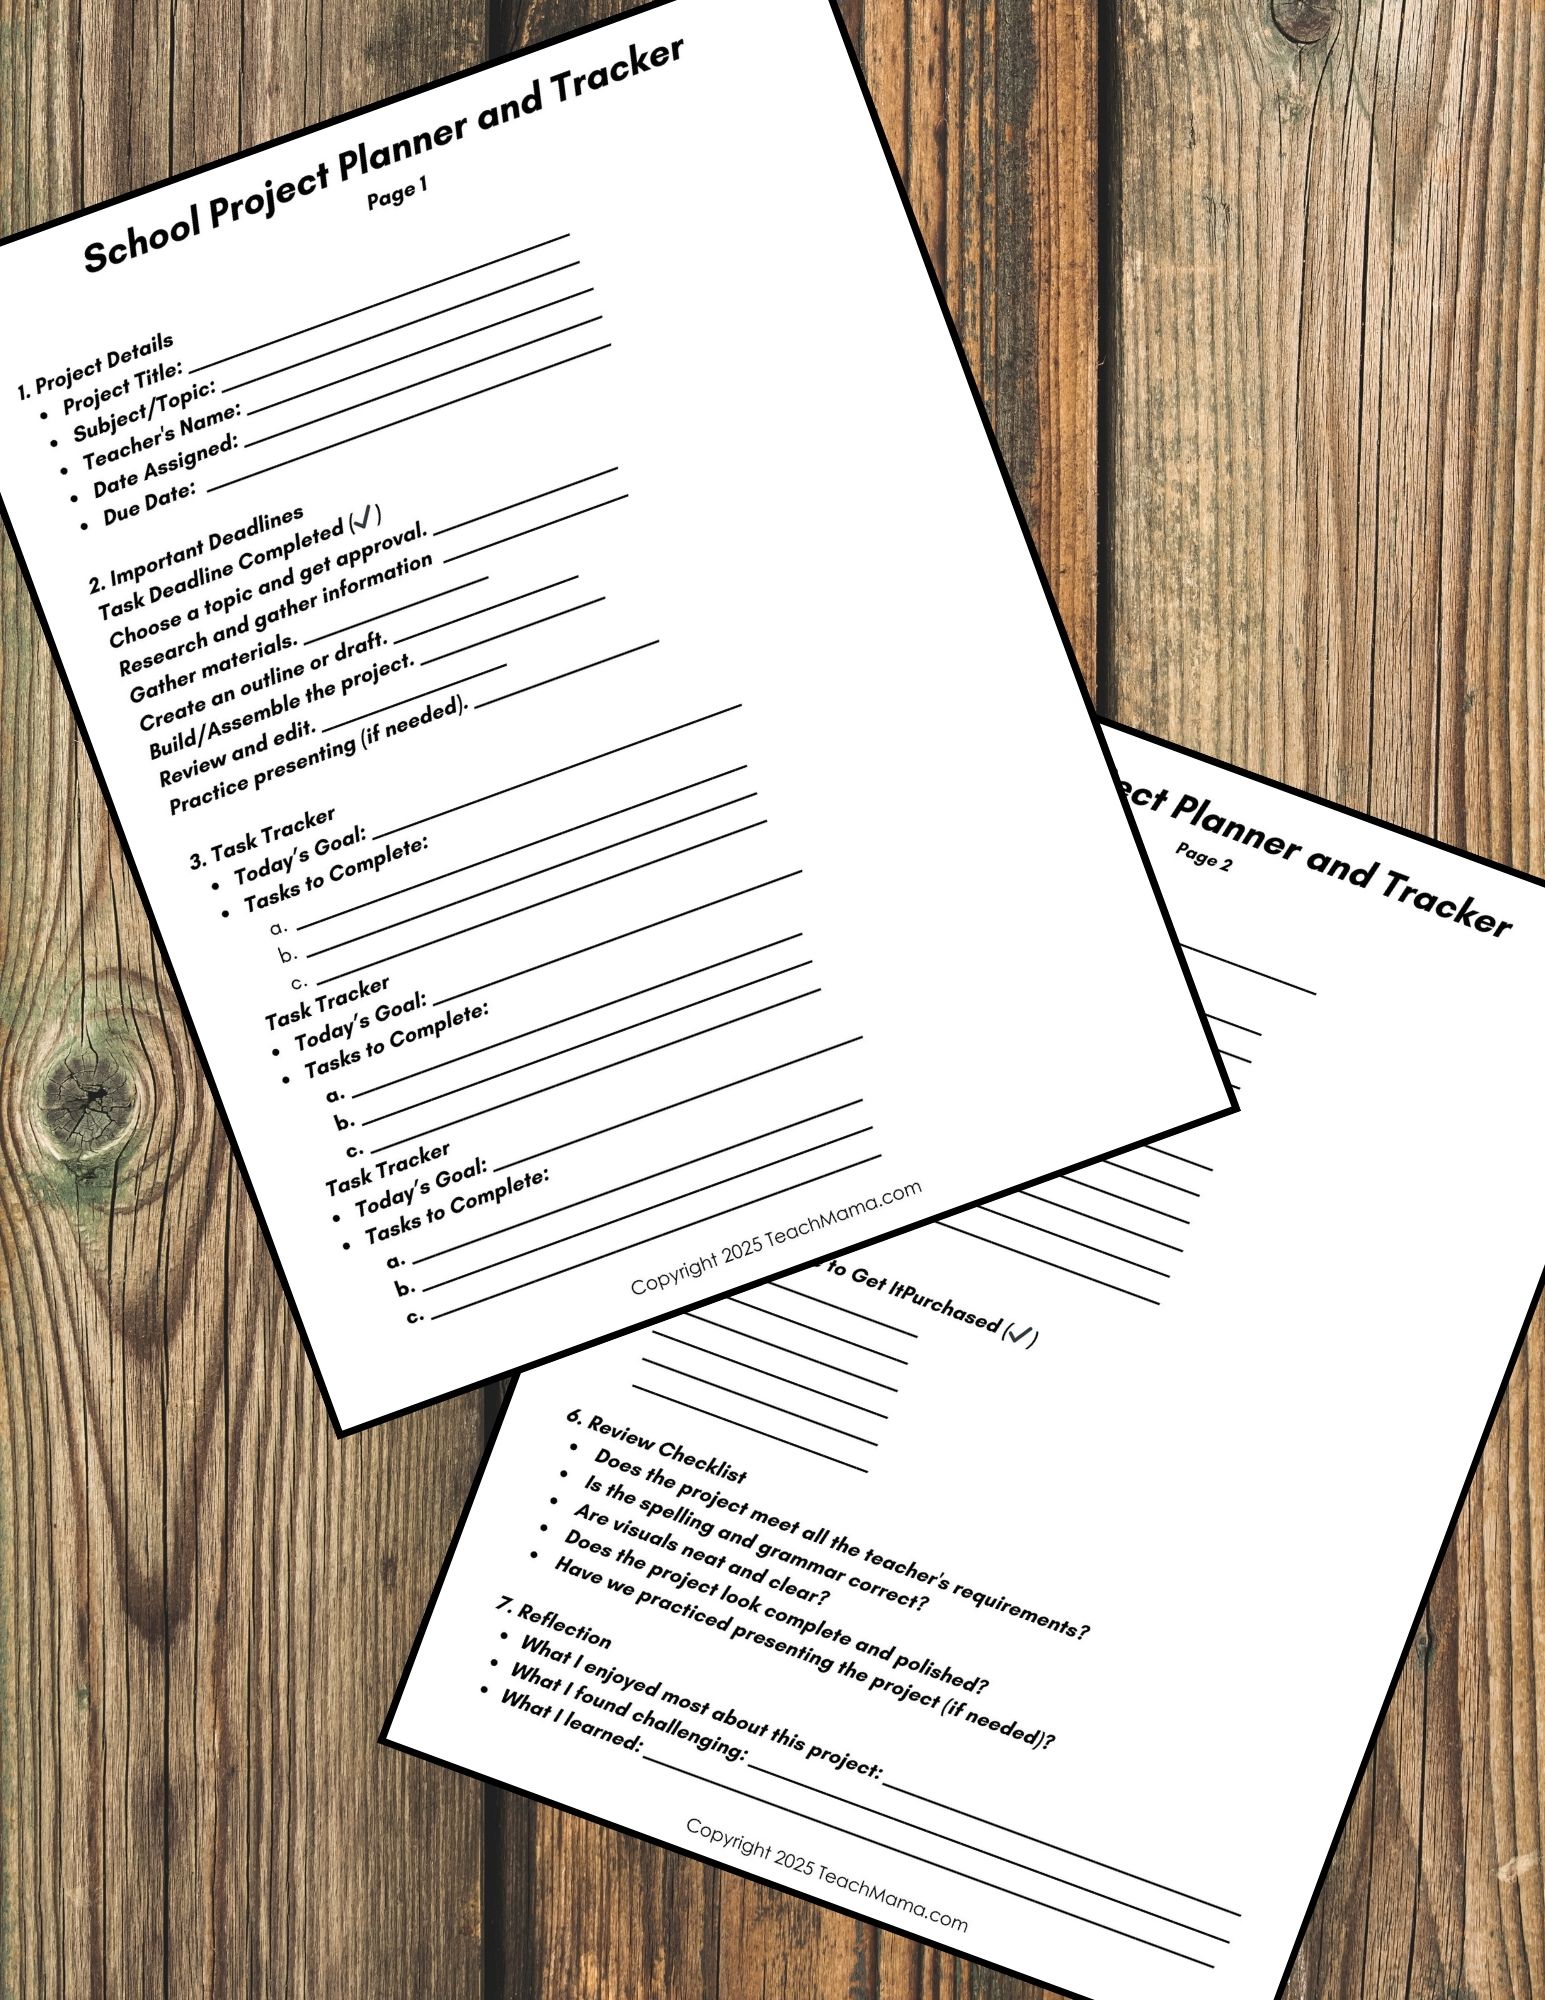
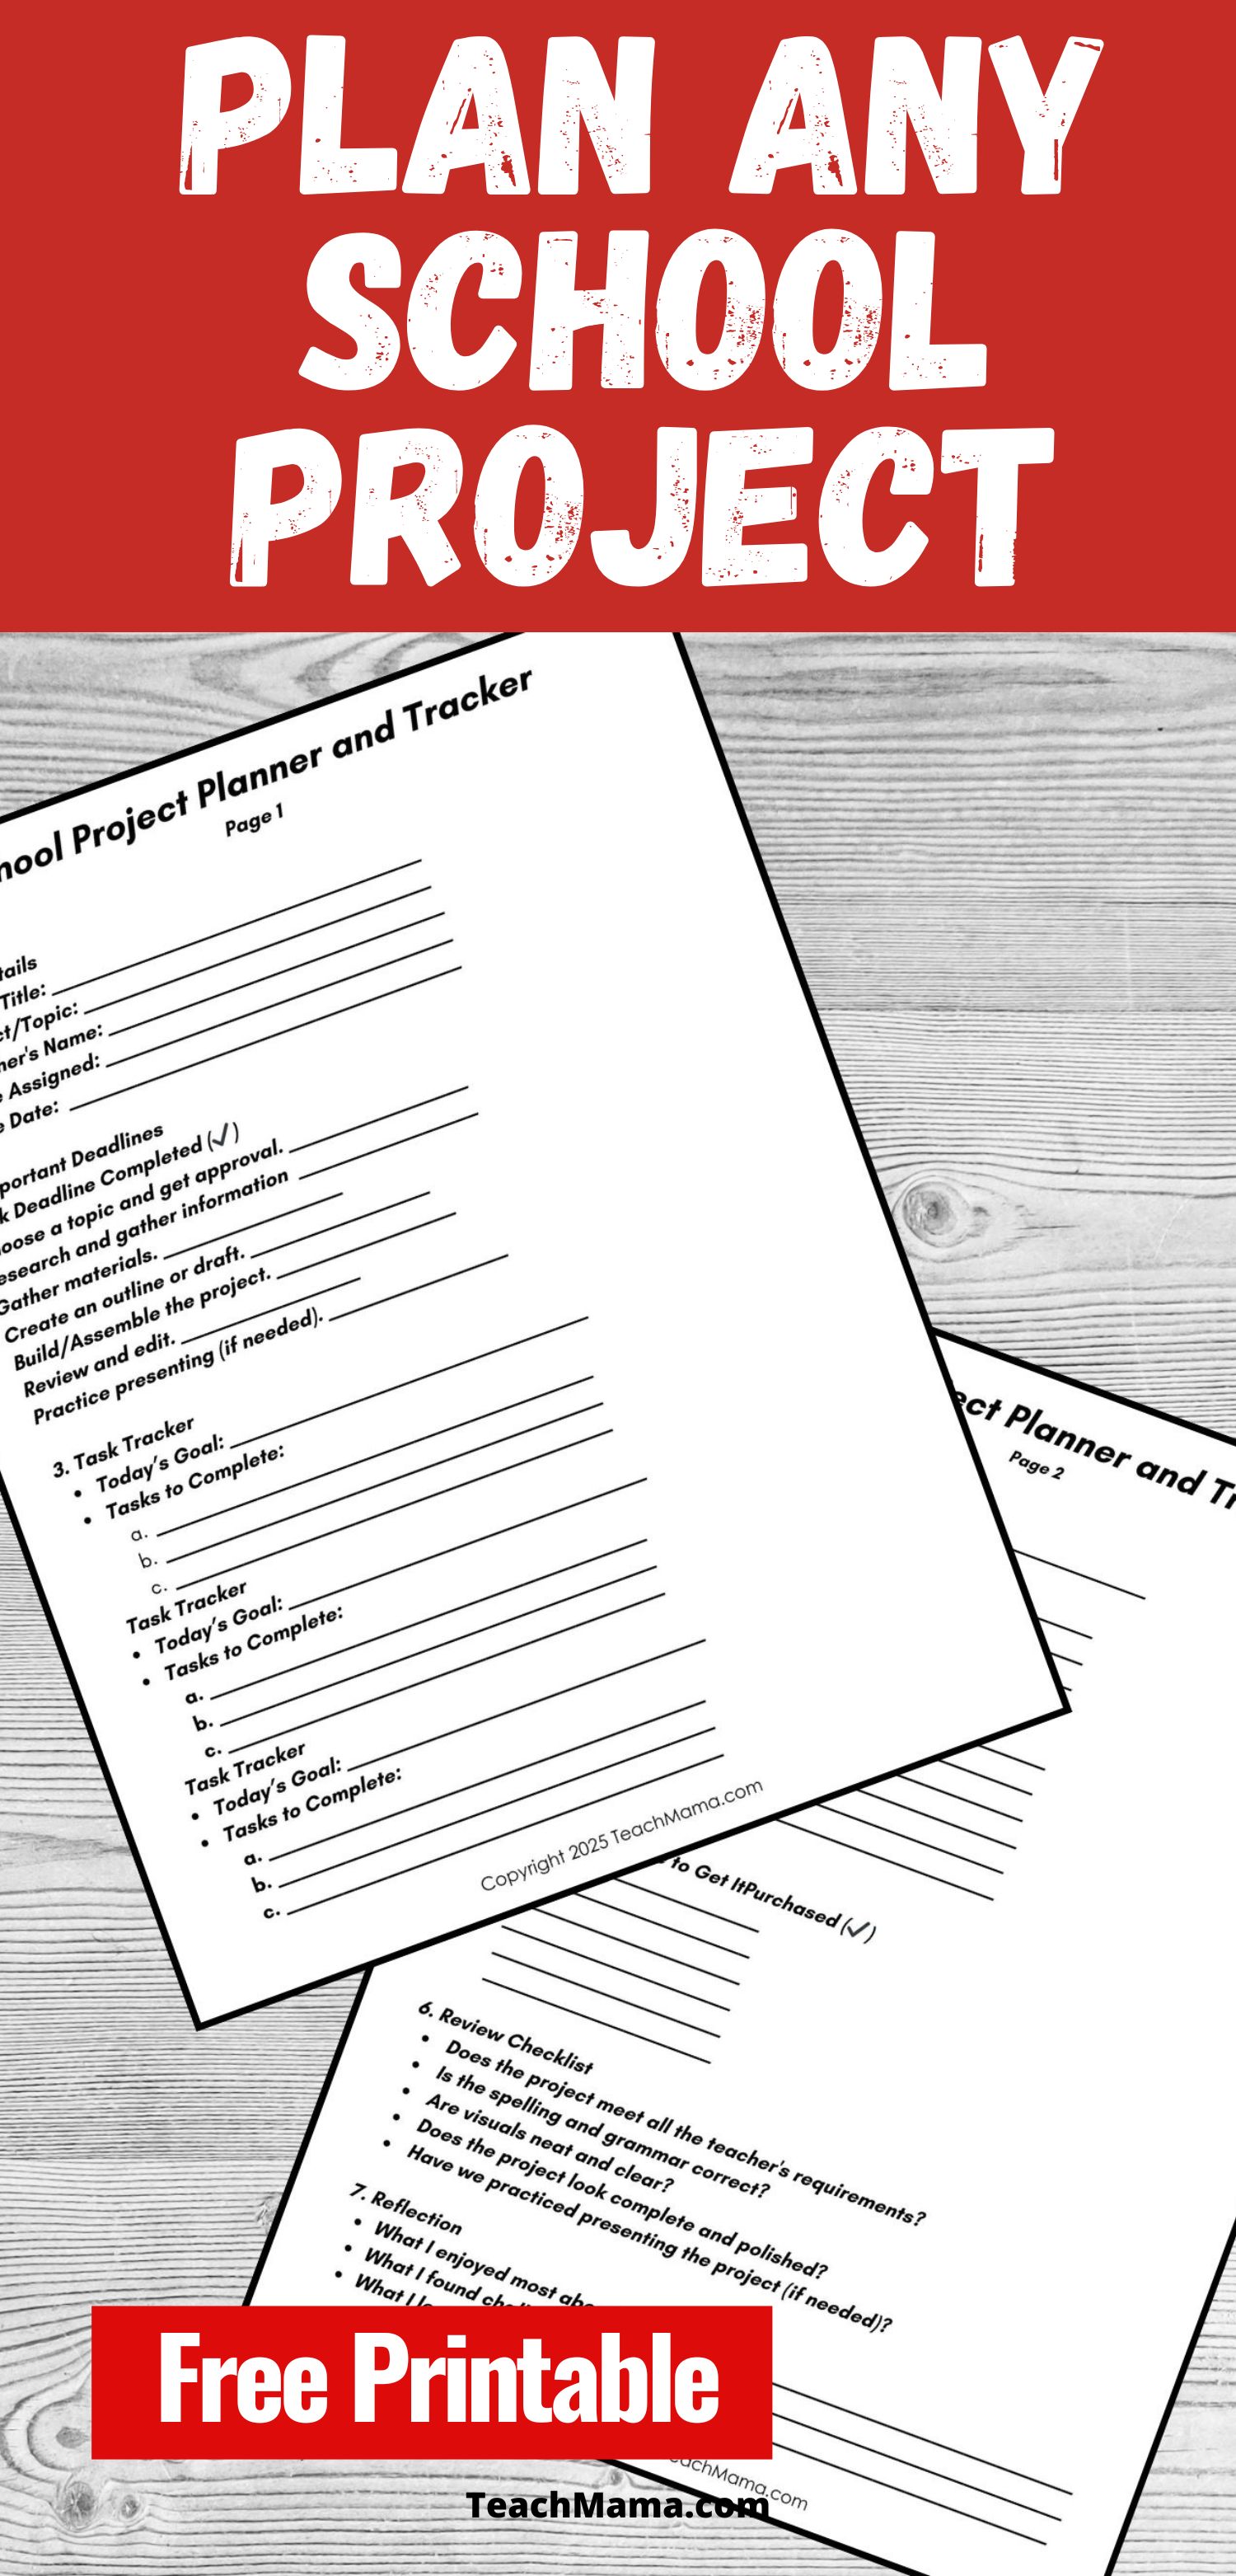
Want to grab your own copy of the School Project Planner?
Just drop your email in the box below and the download link will appear in your inbox almost like you planned it that way!
Looking for Other Great Content?
- How to Help Your Child Make a Commercial and Maybe Learn a Little Psychology
- Three Fall Owl Crafts for Kids
- Super Easy Flower Pen Craft
- Sweet Kids Valentines – Mini “Stained Glass” Hearts
- 9 Things All Kids Must Hear Their Parents Say
PIN THIS FOR LATER

Leave a Reply