
It’s Spring Fair time, Science Share time, Reader’s Tea, Poetry Share, and International Night time at schools all around the country.
Kids are sharing their learning, and they’re learning about sharing. Or at least they could be!
My kids are a bit technically-savvy, love anything laptop, iPad, or DS–so for International Night this year, I took a little time to show my kids a few things about PowerPoint.
And honestly? They loved it.
It wasn’t all that involved–it was by no means the end-all PowerPoint intro. Just a touch. Just a taste.
And instead of making double work for us, we used the PowerPoint slides we created to decorate our France board.
Here’s the skinny. . .
- Helping Kids Use PowerPoint for Presentations and Serious Fun: I suppose the ‘serious fun’ part may be a bit of an exaggeration, but the bottom line is that using PowerPoint for our France presentation for our school’s International Night sure upped the kids’ interest factor.
And doesn’t that count for something?
Last year, we did Madagascar for International Night. This year? France. Naturally. Maddy’s choice.
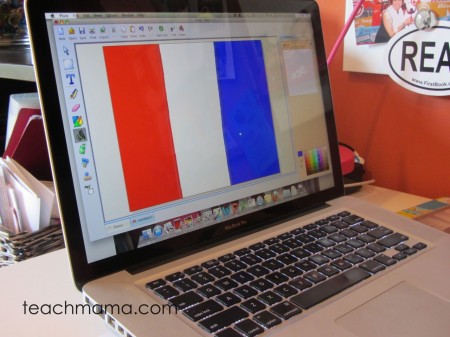
The kids love using Pixie, so Owen jumped right in and made us a France flag to include.
I started off by asking Maddy, Owen, and Cora if they wanted to try something a little bit new for their project this year–if they wanted to use a bit of technology alongside our poster for International Night. They did. So we got rolling.
I said, Okay, well we’ll try a tool called ‘PowerPoint’ that I’ve used for many of my own presentations and that Daddy also uses for his presentations at work. With PowerPoint, you can make slides that show your information. And then you can print your slides.
I thought it would be cool to make a PowerPoint presentation that we could play during International Night and use the slides to decorate our big poster. Does that sound okay to you?
It did. Phew.
So we began:
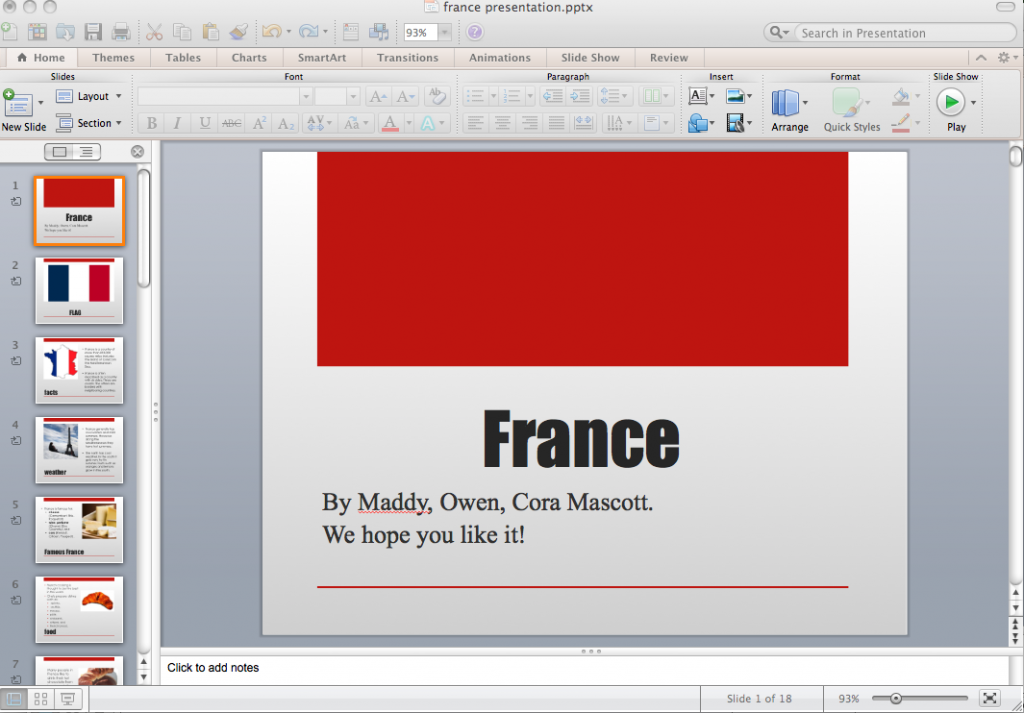
1. We built background knowledge on the format. I showed them a really quick example of a PowerPoint presentation I used for a meeting I had a few months ago so that they knew how a PowerPoint presentation could look:
2. We started fresh. I opened a new presentation [File -> New Presentation].
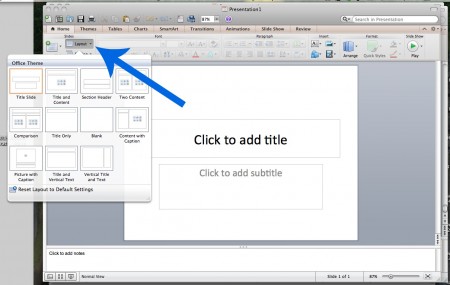
I showed them all of the ways we could change basic format and fonts.
We chose one that we thought would be simple and clear but bright and cool: Newsprint.
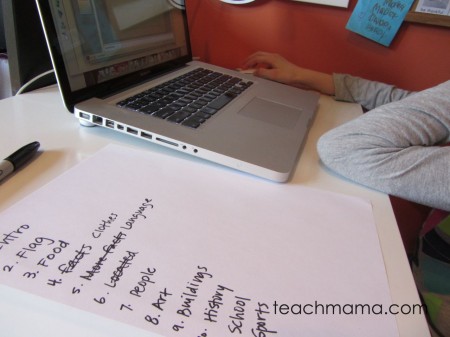
3. We brainstormed. We wrote down all of the topics that we wanted to include in our presentation, trying to cover all of the things people would want to know about France. We came up with: Intro, flag, food, clothes, language, people, art, buildings, history, school, and sports.
Then I showed them how to create new slides: [Insert–> New Slide OR Insert–> Duplicate Slide].
Maddy set us up with a new slide for each of our topics.
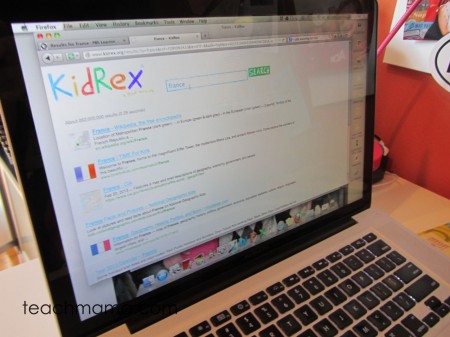
4. We researched. We jumped over to PBS LearningMedia. We used KidRex. We used Time for Kids and Kids National Geographic. The kids came up with the search terms, something that we’ve done quite often in the past.
We went simple, and we found what we needed: France map; food in france; france and clothes.
5. We created. For the sake of time, we added information to the slides as we found it. We did our best to read information, put it into our own words by summarizing it, and then typing it into each slide.
Because our focus with this was simply to get them some basic information on France and to get them familiar with PowerPoint, I didn’t worry too much about proper citation of photos and information. Believe me, as a former high school English teacher, I totally understand how important that is; however, I had to choose my battles here.
Instead, I created a ‘Resources’ page at the end of our slideshow, and anything we took from the internet, we added to that page. I felt it was enough to emphasize the importance of not just grabbing from the internet, but it also emI showed them how to
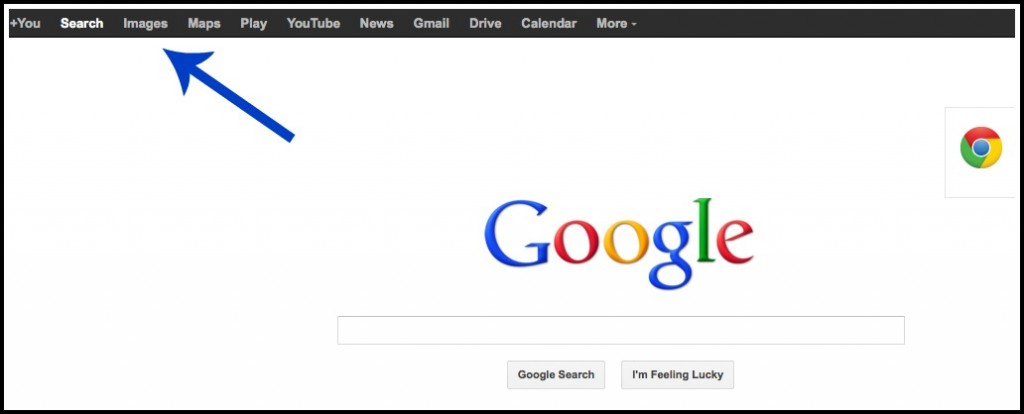
When we needed images, I showed them how to change our search terms on Google from ‘Search’ to ‘Images’ and drag the ones we wanted to use to the desktop.
Then we could easily insert the new images into our presentation.
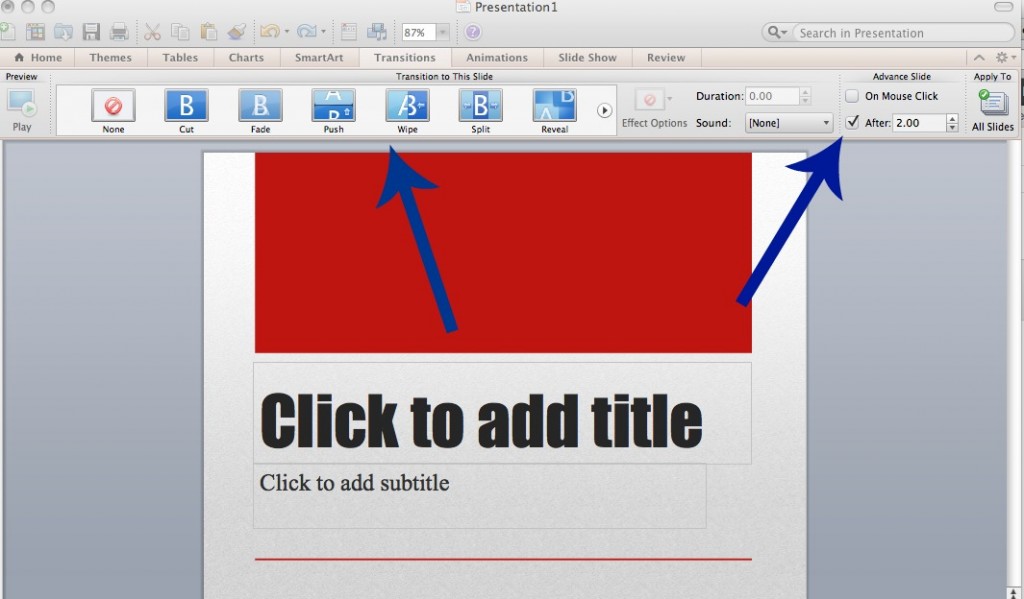
6. We added transitions. In a really basic way. Since I knew we’d keep our presentation on a loop, I knew I wanted to have the transitions advance after a few seconds, so we changed that, and we unclicked ‘on mouse click’.
7. We moved slides. I showed Maddy, Owen, and Cora how to view the presentation with the slides on the left side [view–> normal] OR [view–> slide sorter] so that we could easily move slides into a different order.
We moved them around in a way that we thought made the most sense.
8. We saved it. We saved it as a movie [file–> save as –> movie] so that it would loop while we stood at our booth.
9. We added, edited, and revised. And soon our presentation totally rocked the house.
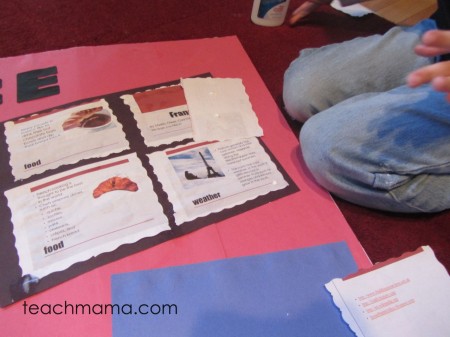
10. We printed. We printed each slide four on a page because we thought that was the best size for our poster. We followed [print –> preview –>images per page –> four], but I’m sure there are a million other ways to do it.
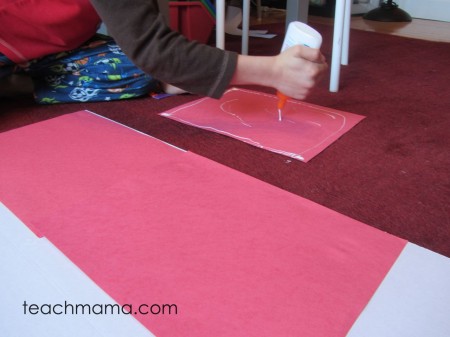
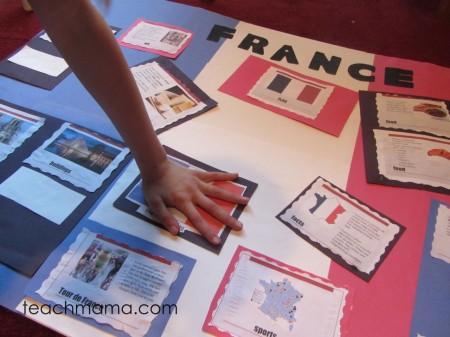
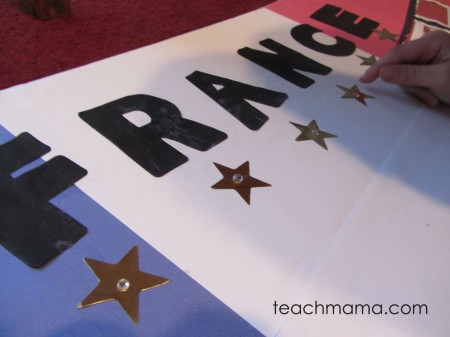
11. We blinged our board. We covered it in France’s colors: red, white, and blue.
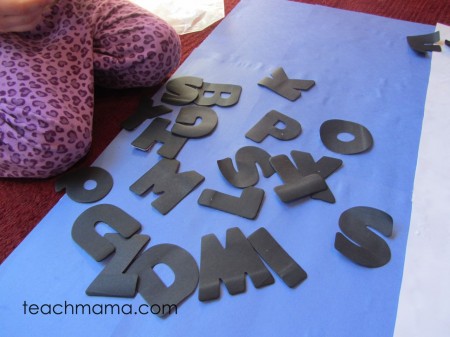
We added letters at the top: FRANCE.
We cut out our slides with fancy scissors.
And we mounted each slide on another piece of construction paper. Because doesn’t everything look so much more beautiful when mounted on colored paper?
And we blinged a bit more, signed our work, and we were finished.
12. We gathered our French materials. Thank goodness for our good friends whose grandmother is French and for my husband who has some French connections at the school where he works because our French display rocked.
We had flags, children’s books, a beret, French money, posters, and more. And we picked up some croissants at the grocery store, c
ut them in thirds, and gave our friends a little (teeny) taste of authentic France. Or as authentic as we could muster with us not being very French for real.
We set our France Presentation on autoplay, and we were good. To. Go. Woot.
Want a few more advanced PowerPoint links for your Digital Kids? Check out:


And really? That’s that. The kids had fun. I had fun. And they were proud of their display.
Was it perfect? Hardly. Is this PowerPoint tutorial perfect. Far from it.
But it’s here to prove that with a little bit of effort, we can give our kids a taste of something more technologically advanced than they may think they are capable of. And perhaps this little touch of PowerPoint may give them more confidence when it comes to doing another presentation down the road.
Next up: iPad Notes–fun family interviews
3 comments
It looks so much fun – my kids go crazy, when they can do the assignment and have fun with all the crayons and paper, too!
Hmm it seems like your website ate my first comment (it was super long) so I guess
I’ll just sum it up what I wrote and say, I’m thoroughly enjoying your blog.
I too am an aspiring blog writer but I’m still
new to the whole thing. Do you have any suggestions for newbie blog writers?
I’d really appreciate it.
yes–definitely! feel free to take a look at my eBook, ‘how to be a blogstar and make your blog work for you’! tons of info! good luck!