• Skip to main content
  • Skip to header right navigation
  • Skip to site footer
  • About
  • Shop
  • Press
  • Media Kit
  • Contact
  • Facebook
  • Twitter
  • Pinterest
  • Instagram
  • YouTube

teach mama logo

teach mama

helps families connect & build bridges between home & school, by amy mascott

  • early literacy
    • alphabet
    • beginning sounds
    • phonics
    • phonological awareness
    • read-aloud learning
    • rhyming
    • sight words
  • reading
    • books
    • comprehension
      • activating schema
      • connecting
      • inferring
      • predicting
      • questioning
      • retelling / summarizing
      • visualizing
    • concepts of print
    • environmental print
    • fluency
    • non-fiction
    • spelling
    • word building
    • word consciousness
    • vocabulary
  • writing
    • creative writing
    • grammar
    • informative writing
    • tripod grip
  • math
    • computation
    • counting
    • numbers
  • science
    • animals
    • plants
    • science experiments for kids
  • Activities
    • birthdays
    • cooking
      • new for us foods
    • crafts
    • foundations
      • colors
      • critical thinking
      • fine arts
      • listening
      • pretend play
      • sorting
      • speaking
    • holidays
      • new year’s
      • valentine’s day
      • president’s day
      • st. patrick’s day
      • april fool’s day
      • easter
      • mother’s day
      • teacher appreciation
      • father’s day
      • july 4th
      • halloween
      • thanksgiving
      • christmas
    • family life
      • family fun
      • giving back
      • lunchbox love notes
      • school
    • indoor activities
    • outdoor activities
  • digital literacy
    • computer time
    • iPad for learning
  • Facebook
  • Instagram
  • Pinterest
  • Twitter
  • YouTube

bleached out disney t-shirts for the not-so-crafty crafter

home / Activities / crafts / bleached out disney t-shirts for the not-so-crafty crafter
28.5K shares
  • Share
  • Tweet
  • Email
  • Print

post contains affiliate links


bleached out disney tshirts  teachmama.com black shirt

We’re all busy.

And most of us really like to get a bit crafty but don’t have the time.

This little crafty craft is for you. And it’s for me.

Because it is so easy.

It’s so quick.

And the results are really, truly awesome.

We wanted to do something to let our kids know that we’re heading to Disney World in the next few days, but I didn’t want to do a full-fledged scavenger hunt like we did before.

We didn’t want to do a Disney countdown.

We wanted to pull the ‘YAY WE’RE GOING TO DISNEY WORLD TODAY!!!!’ surprise.

Kind of. We had to keep in mind that our kids do much, much better with a little bit of prep time. Even a teensy bit of prep time helps.

Here’s the skinny. . .

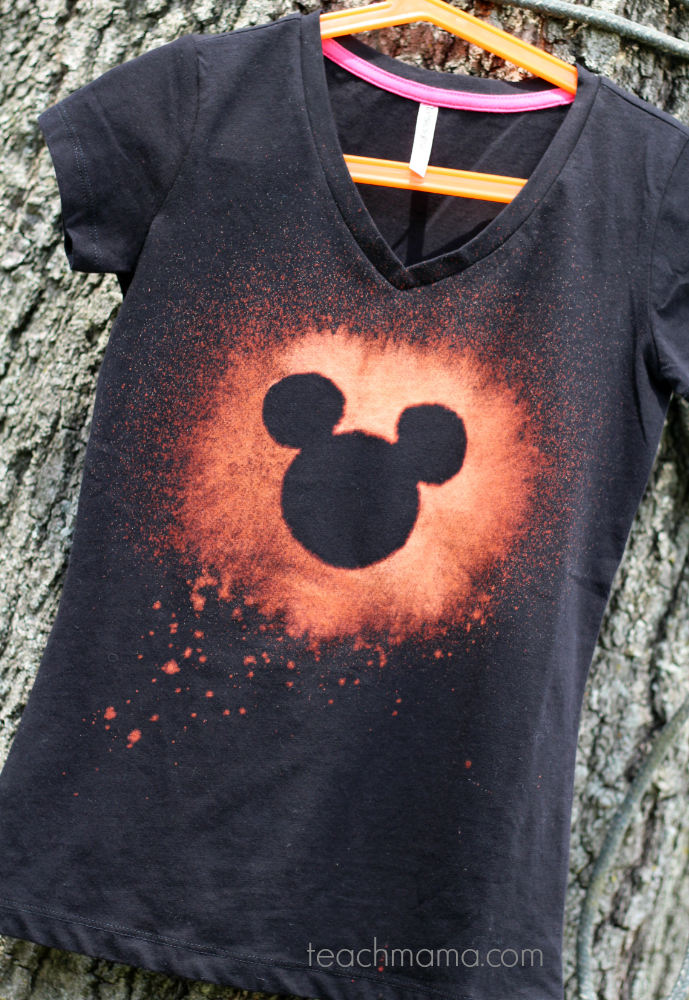
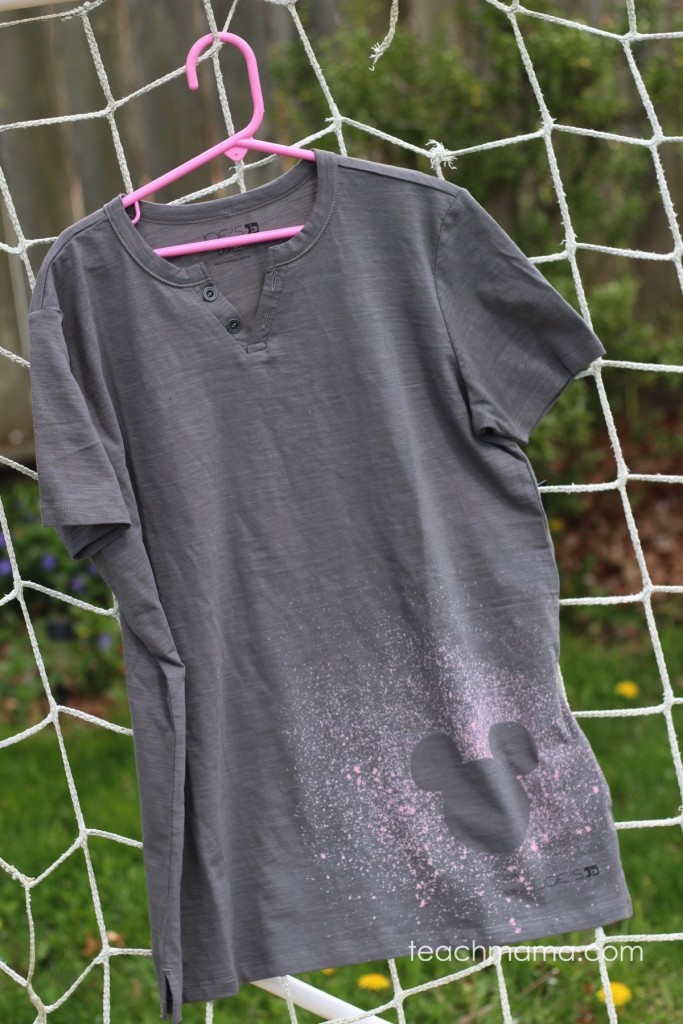
Bleached Out Disney T-Shirts for the Not-So Crafty Crafter

Making these was super easy.

Because my husband and I are surprising Maddy, Owen, and Cora with the trip, I needed to be able to make these t-shirts quickly and in the time that they were in school. So start to finish had to be within six hours. These took a fraction of that time.
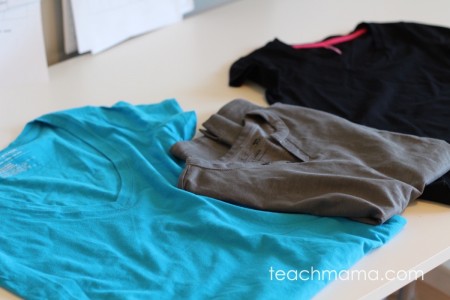
bleached out disney t-shirts | teachmama.com

What you need:

  • t-shirts (you can grab some craft t-shirts here in black, blue, orange, yellow, pink, grey or red, — we got ours at a local store for less than $5 each)
  • freezer paper
  • iron
  • Mickey Mouse template: you can download ours below or find one of your own
  • spray bottle
  • bleach
  • pencil

What you need to do:

1. Print out the template you want to use.

bleached out disney t-shirts | teachmama.com


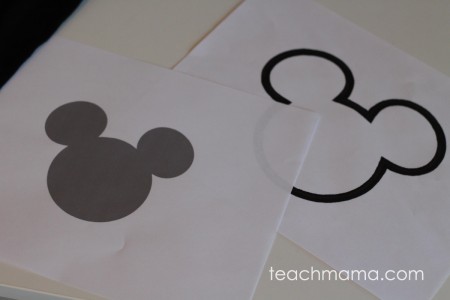
We used super-simple Mickey ears ones: you can download them here–mouse templates | teachmama.com

Please, if you choose to share this post–and we hope you do!–consider linking to this post instead of the attachment page. Thank you!)


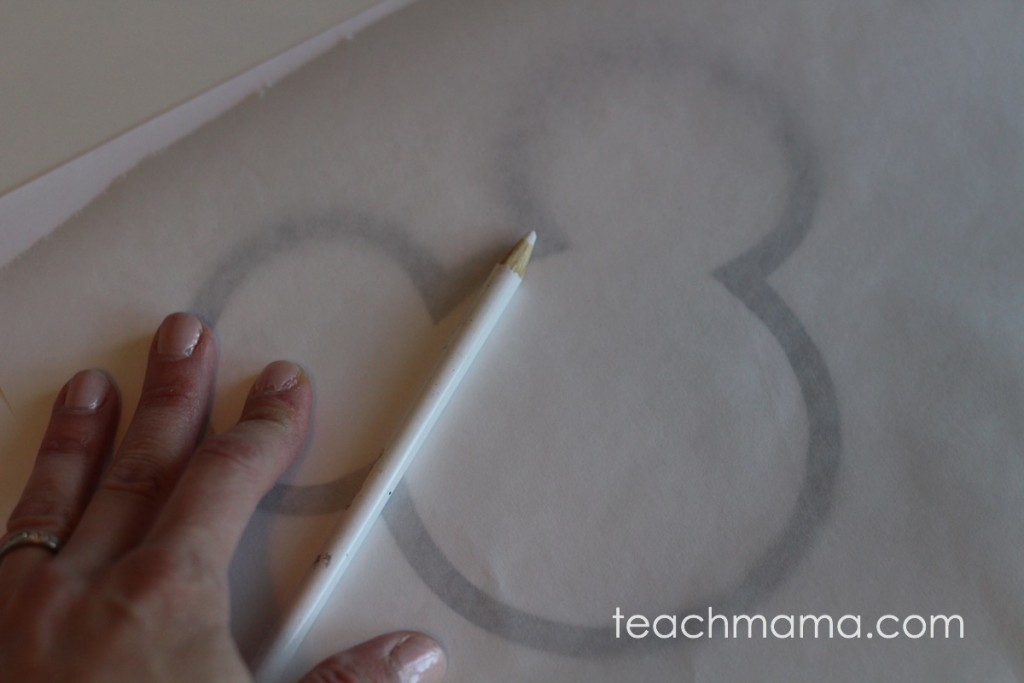
2. Trace the template onto freezer paper.

bleached out disney t-shirts | teachmama.com

bleached out disney t-shirts | teachmama.com

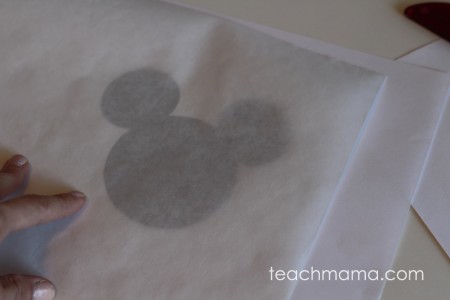
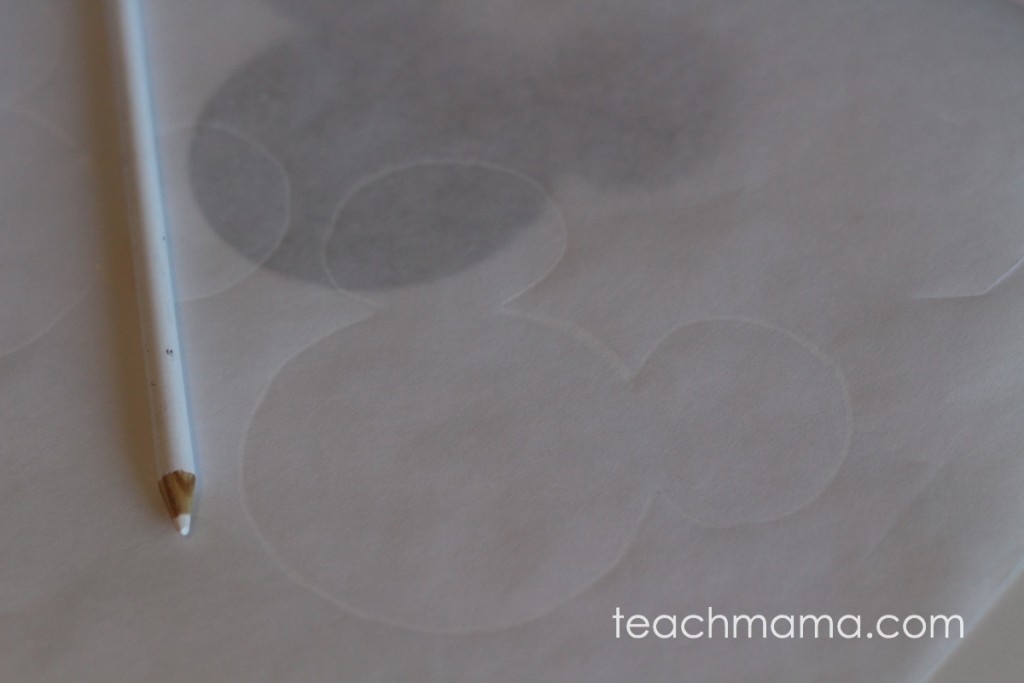
You can do this easily by placing the freezer paper on top of the printout and tracing it with a pencil.


3. Cut out the image from freezer paper.

I think if you have a detailed design, you could use a razor, but my design was easy, so I did it with scissors.


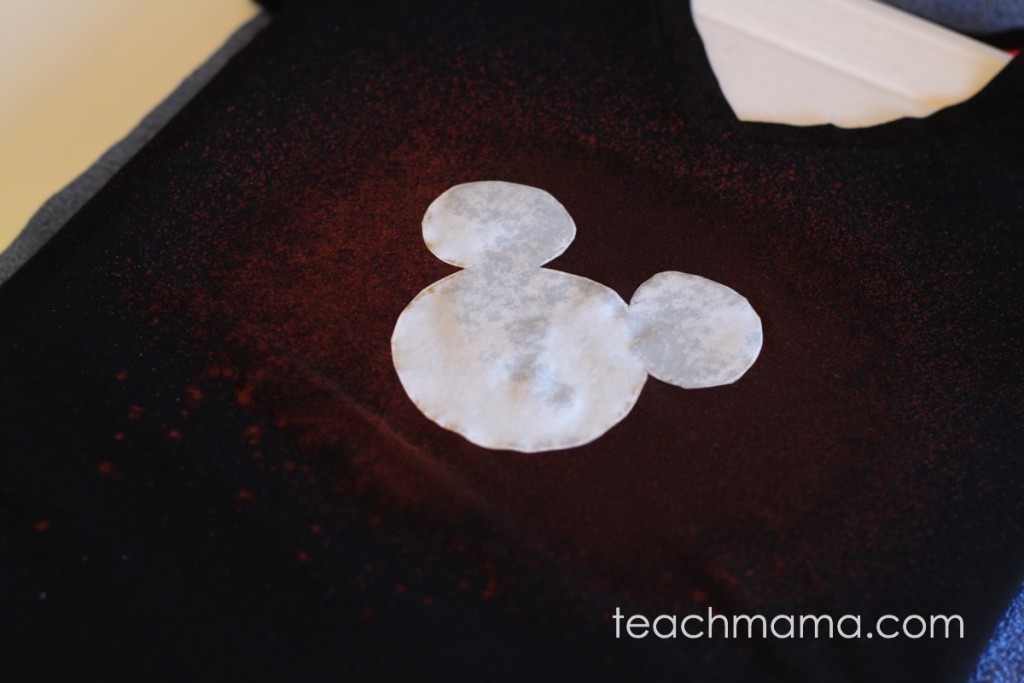
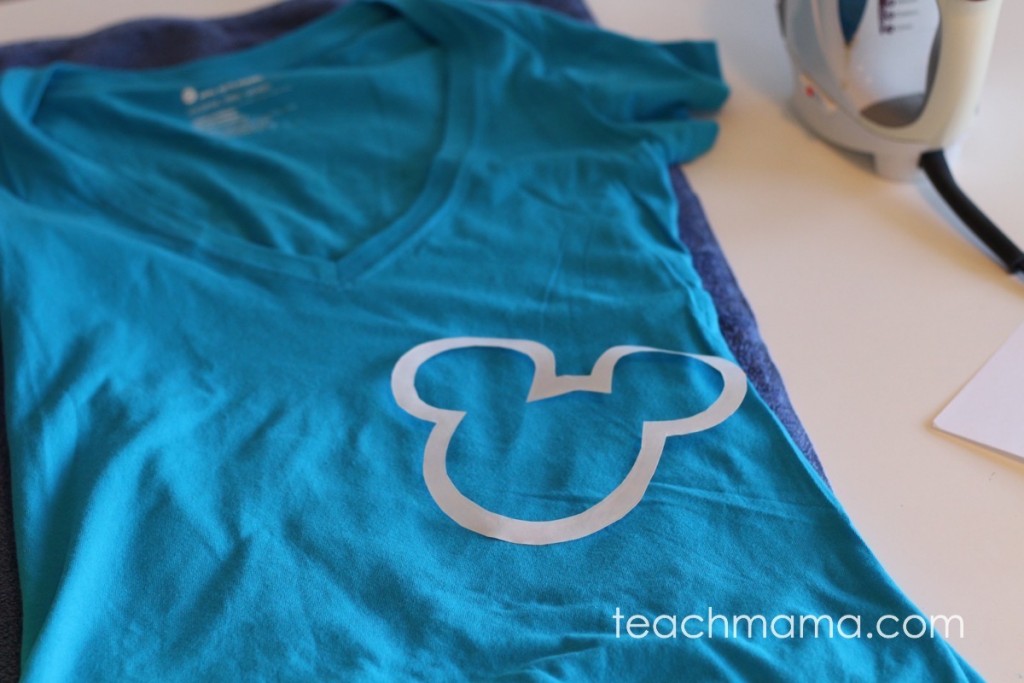
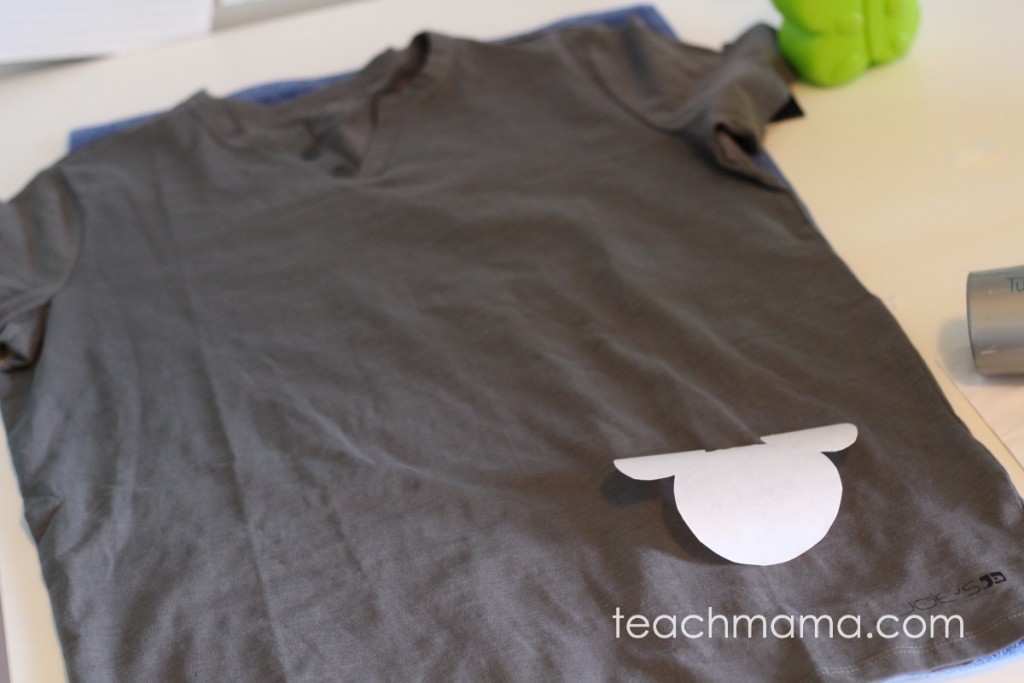
4. Iron the freezer paper stencil to the t-shirt.

bleached out disney t-shirts | teachmama.com

bleached out disney t-shirts | teachmama.com

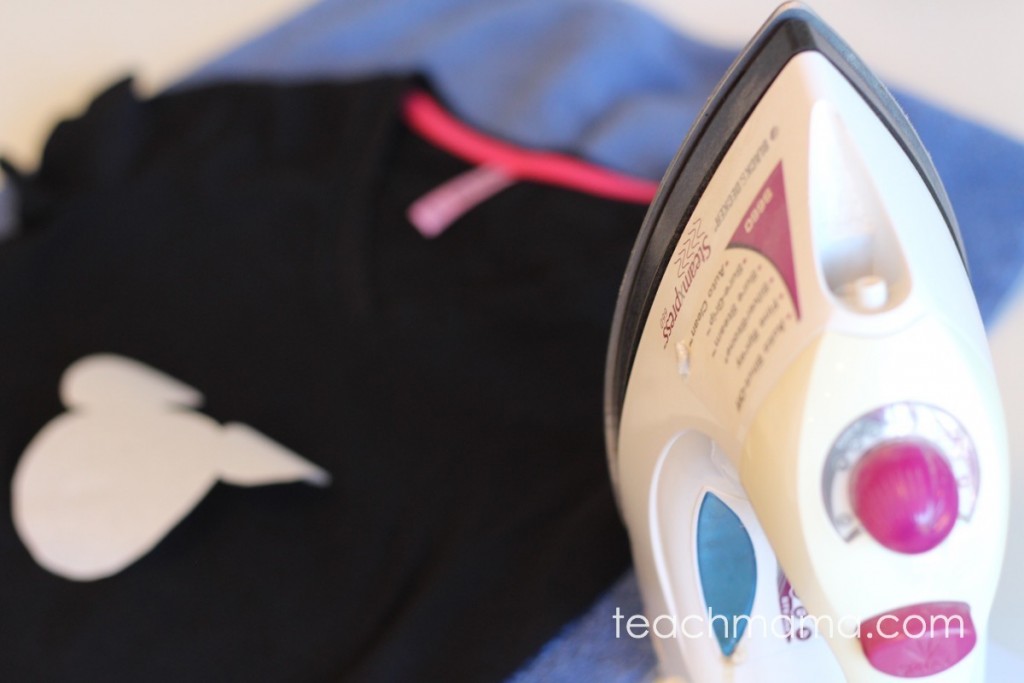
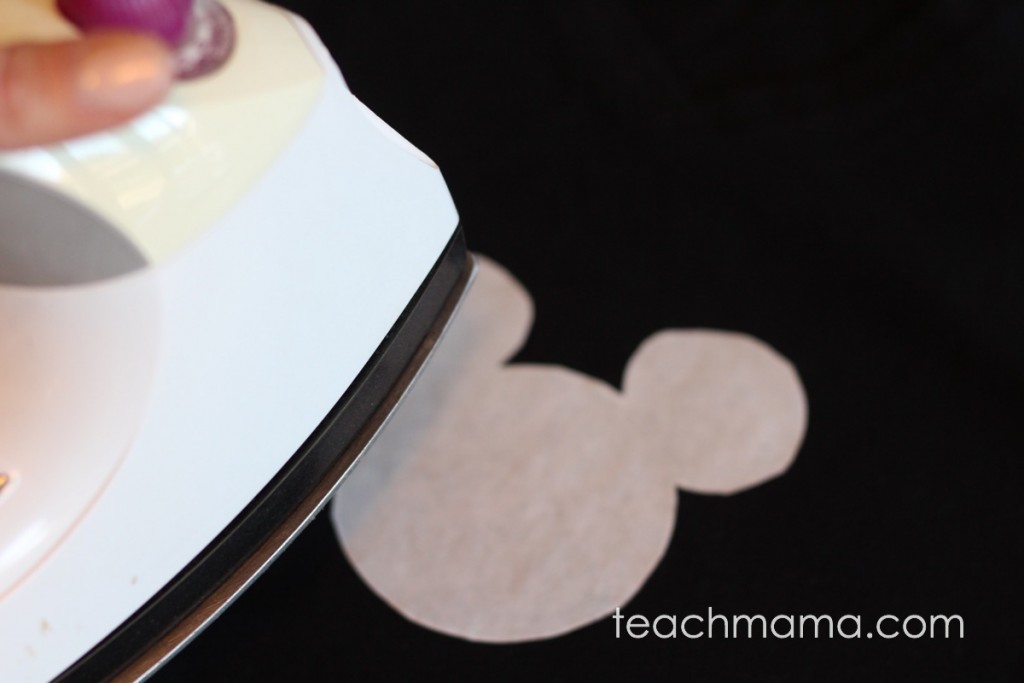
Not kidding. I didn’t know this would work, either, but one side of the freezer paper gets just a wee bit sticky when heated. Find the shiny side of the freezer paper and make sure that side touches the t-shirt.  Find the place you want the image, and place it there.

Remember that the freezer paper blocks the bleach, so wherever that stencil is will be untouched.

6. Mix your bleach solution.

bleached out disney t-shirts | teachmama.com

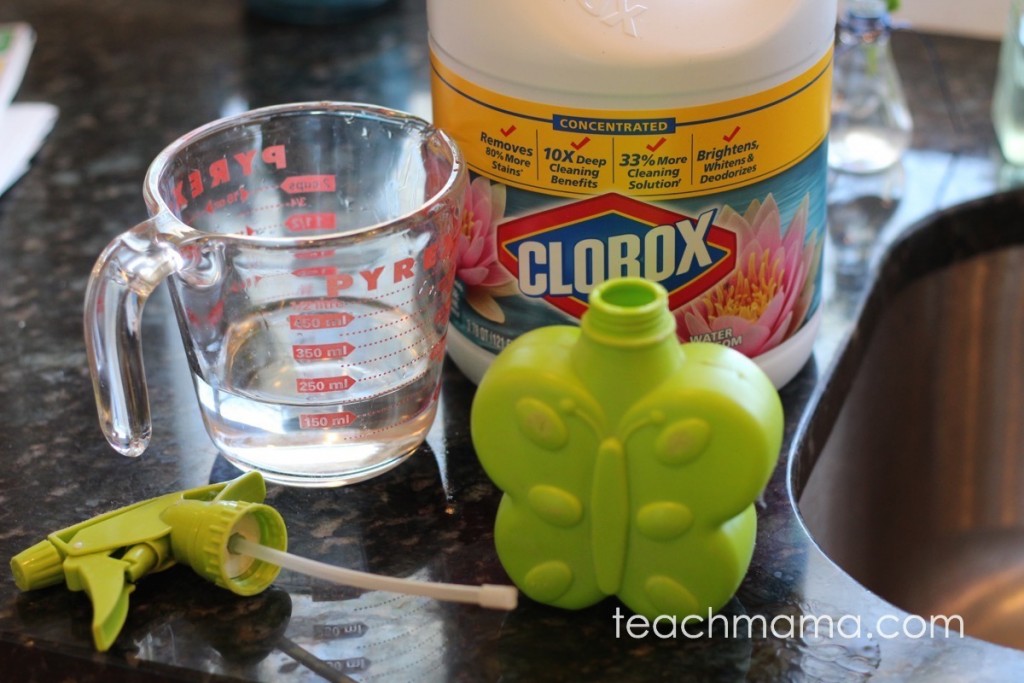
Because my t-shirts were dark colored, I knew that we wouldn’t need a lot of bleach to pull out color, so we went with a 60: 40 mix of bleach and water. I filled about 60% of the spray bottle with bleach and then added water to the remaining 40%.

If you’re doing a light grey shirt or light yellow or pink shirt, maybe you want to use all bleach, but since ours were black, bright blue, and dark grey, I was pretty confident that even if our bleach was diluted a bit, it would yield the results I wanted.

7. Place cardboard inside the shirt. 

Make sure that the cardboard covers all edges unless you want the bleach to carry over to the side a bit. We want to make sure that only the front of the shirt is bleached and that it doesn’t seep through to the back of the shirt.


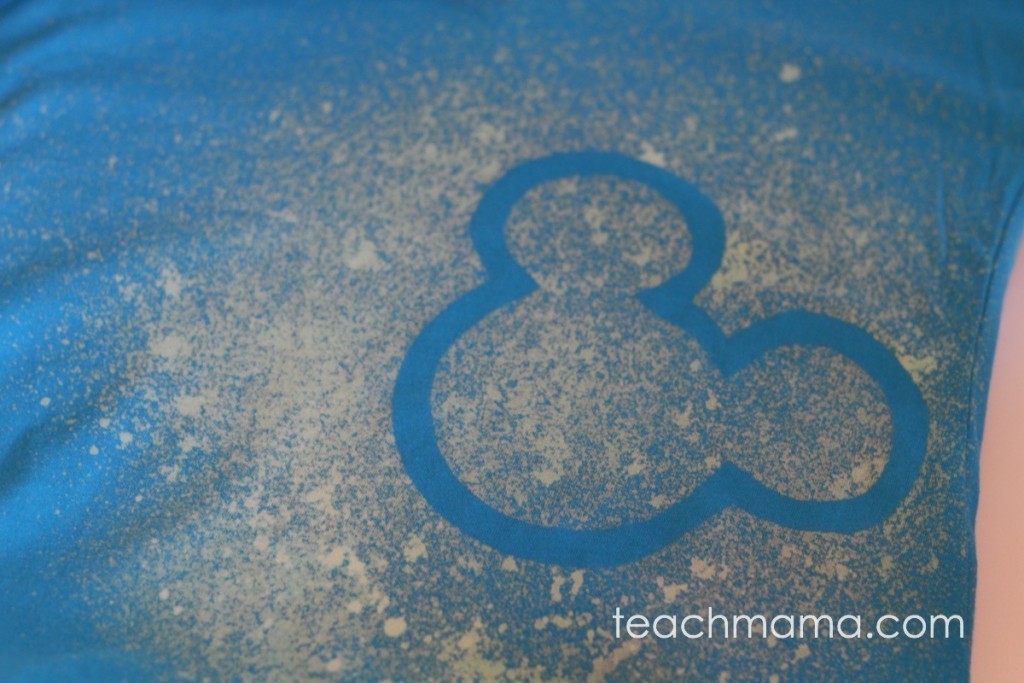
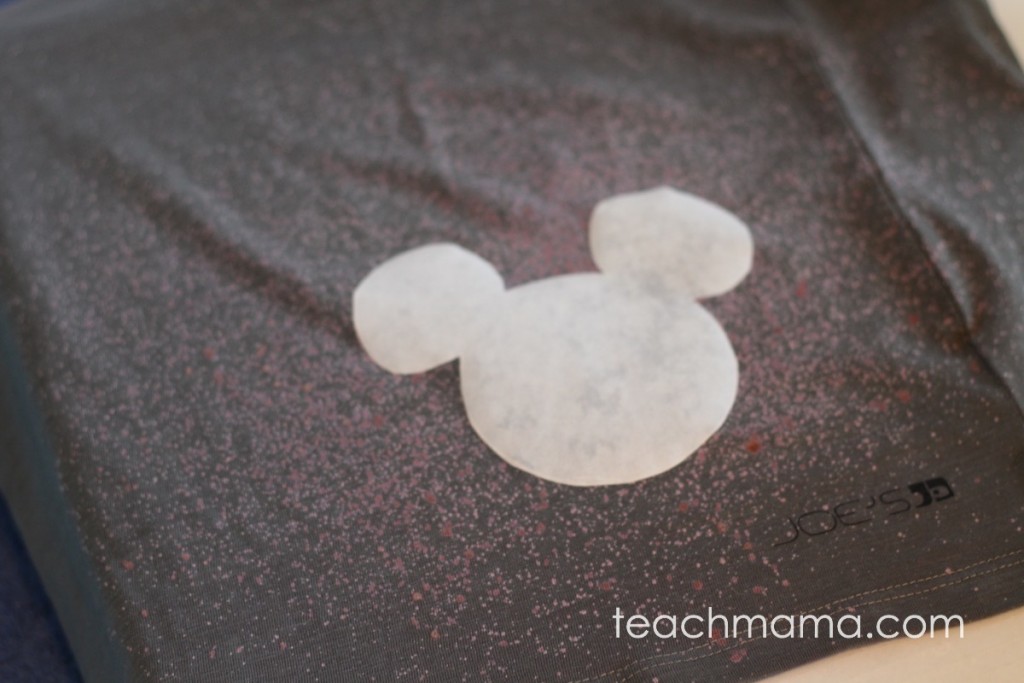
8. Spray, baby, spray.

bleached out disney t-shirts | teachmama.com

bleached out disney t-shirts | teachmama.com

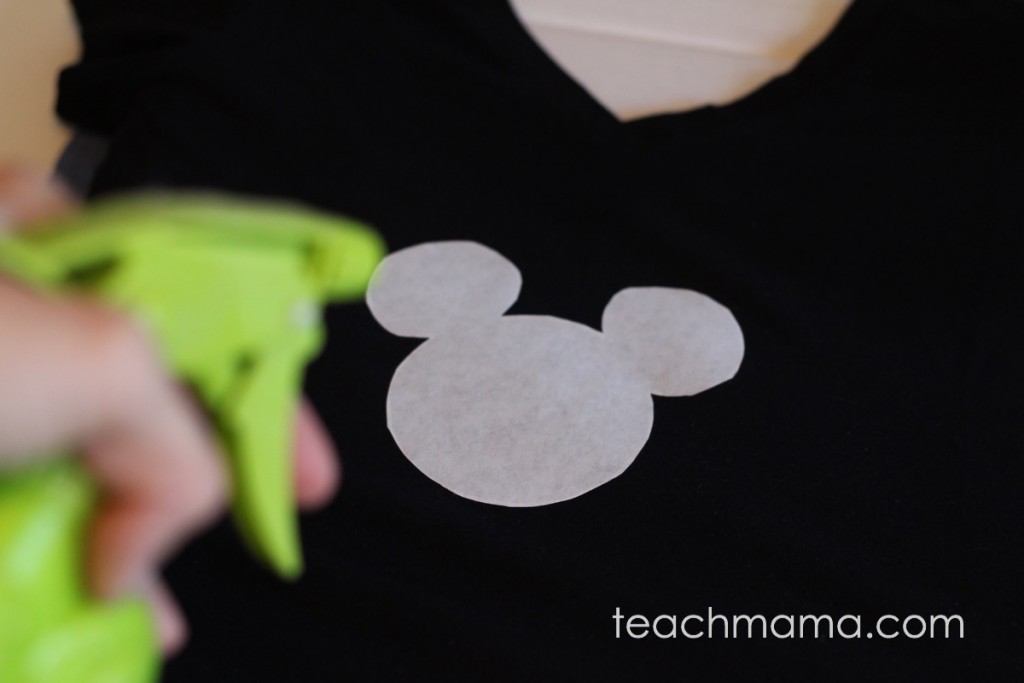
Make sure that the spray nozzle is on the mist setting — test it in the sink if you need to. Then give the spray bottle a shake, and spray the shirt.

Keep the bottle about 6-12  inches from the shirt, depending on the look you want to achieve.

bleached out disney t-shirts | teachmama.com

bleached out disney t-shirts | teachmama.com

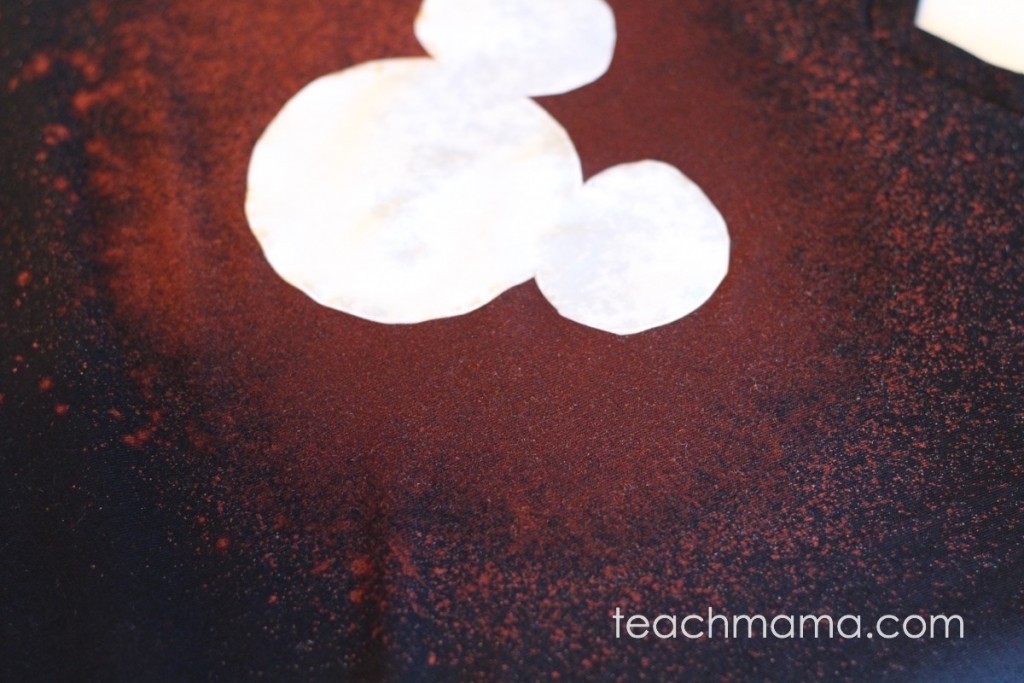
You can either make sure the area around the stencil is saturated, or just spray lightly.  You can use a hairdryer to speed up the drying and bleaching process, or you can let the bleach air dry.  Again, it depends on what you want your shirt to look like.

9.  Carefully remove the stencil.  

bleached out disney t-shirts | teachmama.com

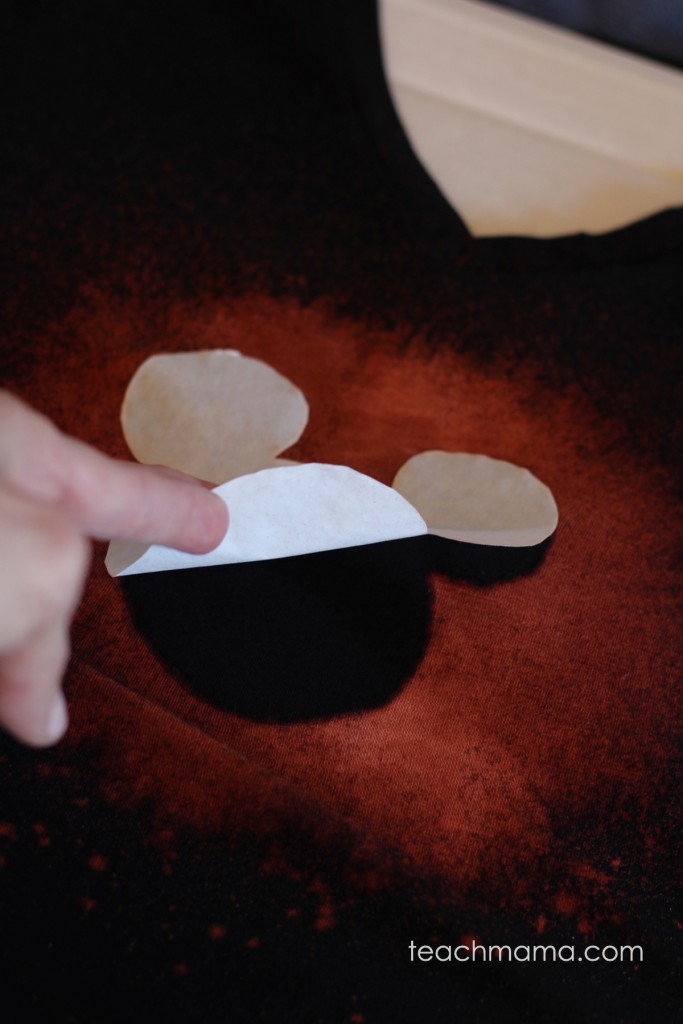
After the bleach settles a bit and before the freezer paper stencil gets super soggy, take the stencil off of the t-shirt

All three of mine removed super easy, with just a gentle pull of a corner.  If you need a start to lift up the stencil, use the edge of a dull knife or scissors. The last thing you want to have happen is to make a hole because you tried lifting the stencil too quickly with a sharp knife.

10.  Let your shirt dry just a bit and then rinse and wash the shirt. 

bleached out disney t-shirts | teachmama.com


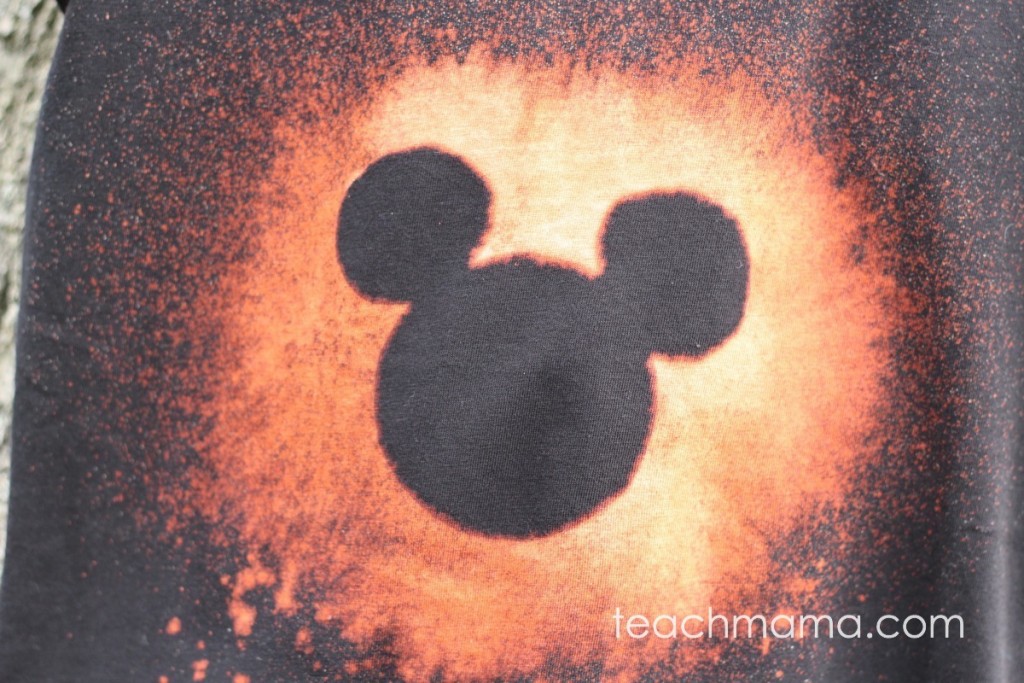
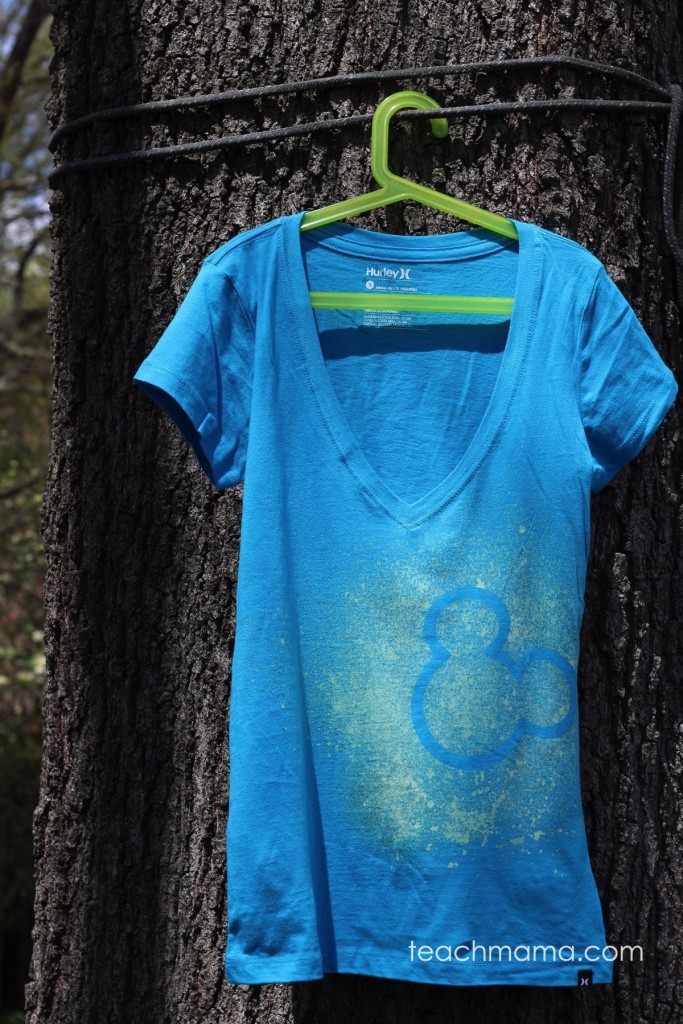
First rinse the shirt in cold water to remove all of the bleach (See those little white dots in the top photo? That’s the bleach–it must be rinsed away. . . ).

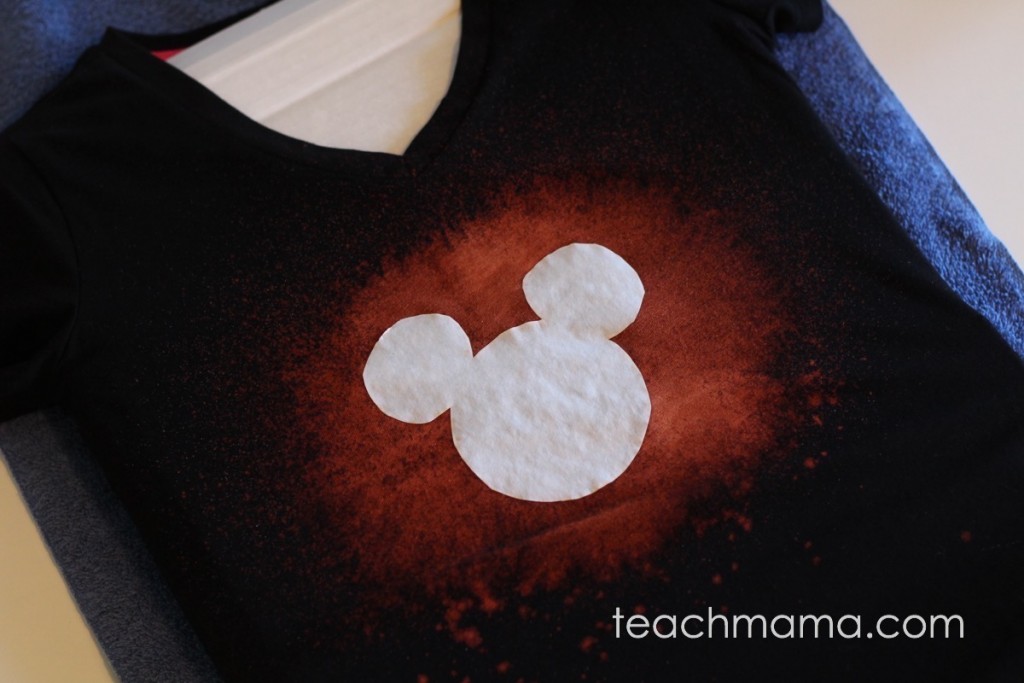
And the finished shirt? Check it out:

bleached out disney tshirts teachmama.com

Then wring it out and wash it (or them, if you did several) in a gentle cycle wash. I dried my shirts on low, and they were fine. I needed them finished by the end of the school day, remember!

bleached out disney t-shirts | teachmama.com

bleached out disney t-shirts | teachmama.com

bleached out disney t-shirts | teachmama.com

Some tips: 

  • Make sure you are in a well-ventilated area.  I mean it. Bleach can really smell strong.
  • Put your shirt on a hanger to let your shirt dry for a bit before you rinse out the bleach.
  • Experiment a little–use a Q-tip to try some bleachy dots on the shirt, use a paint brush, or use the freezer paper in fun, new ways.

bleached out disney t-shirts | teachmama.com

bleached out disney t-shirts | teachmama.com

bleached out disney t-shirts | teachmama.com

bleached out disney t-shirts | teachmama.com

bleached out disney t-shirts | teachmama.com

Have. Fun.

Really, this trip is going to be fun, so make sure that your crafty craftiness before the trip is fun, too.

Check out a quickie video with the how-to: 

Do you subscribe to teachmama.com on YouTube? You should!! 
And really–let me know–have you tried this? What works and what doesn’t?

Looking for more Disney craft ideas?

bleached out disney t-shirts | teachmama.com

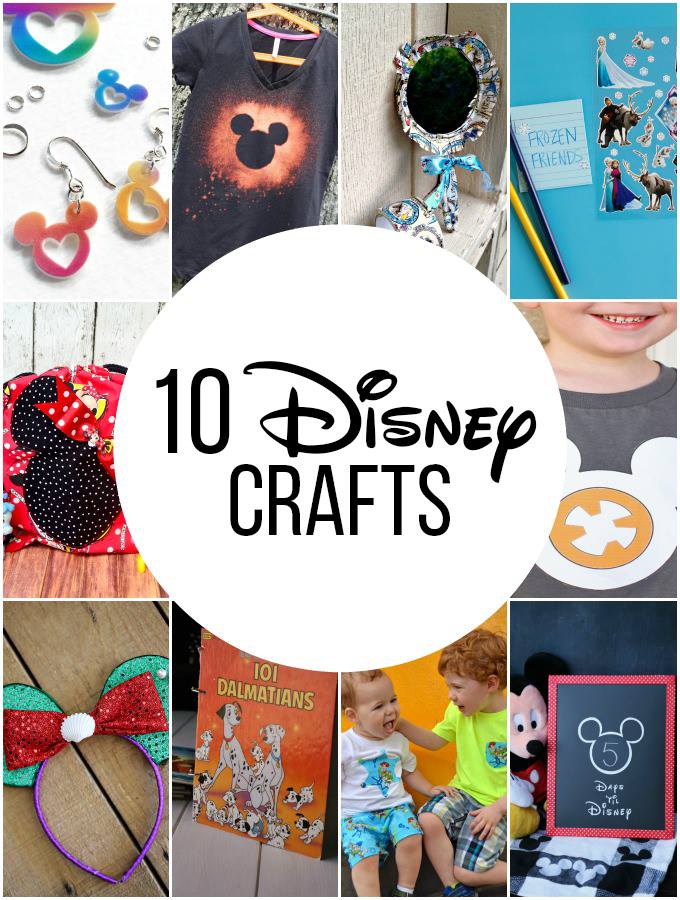
You will not believe what some of my crafty friends are doing. They totally rock.

And they, too, will be at Disney Social Media Moms Celebration next week. So do follow along with the fun at #DisneySMMC or on Instagram.

disney crafts round up numbered

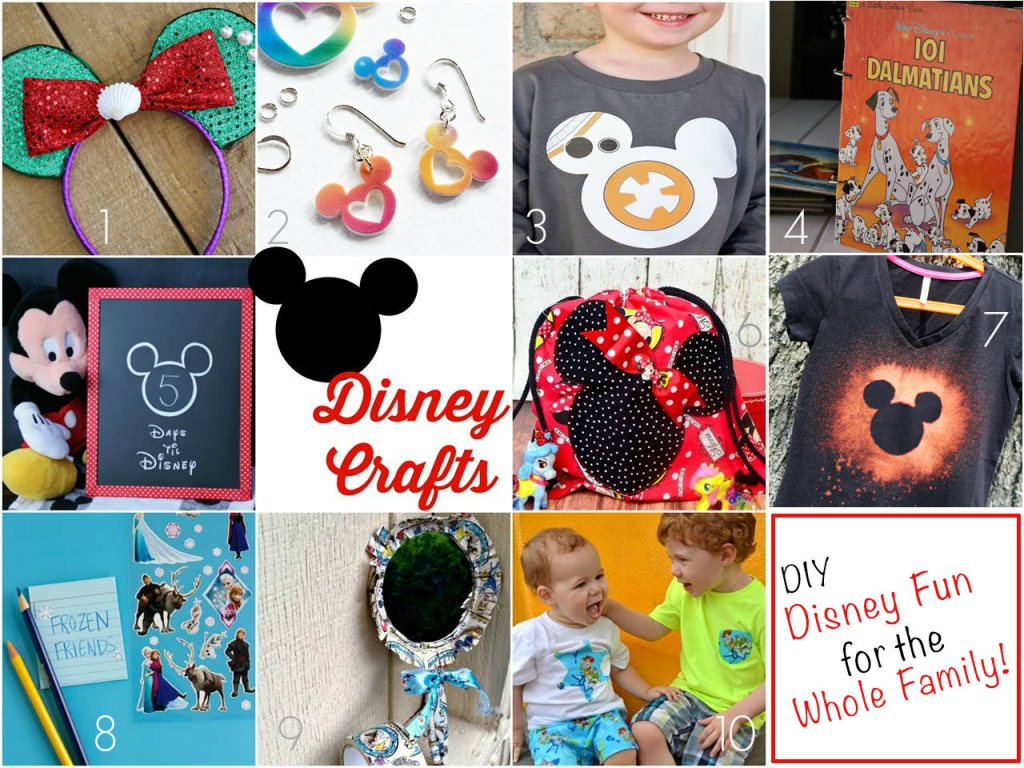
Definitely check out what they’ve done:

  1. Little Mermaid Ears, by Vanessa of See Vanessa Craft
  2. DIY Disney Jewelry with Free Printable, by Jen of 100 Directions
  3. DIY BB-8 Shirt, by Karen of Desert Chica
  4. DIY Disney Autograph and Activity Book, by Sara of Clever Pink Pirate
  5. Disney Trip Countdown – DIY Washi Tape Chalkboard, by Sara of Mom Endeavors
  6. Disney Drawstring Backpack, by Laura of Pink Cake Plate
  7. bleached out disney t-shirts for the not-so-crafty crafter, by Amy of teach mama
  8. Disney Sticker Story Starters, by Marie of Make and Takes
  9. Disney Princess Duct Tape Hand Mirror, by Heather of Dollar Store Crafts
  10. Custom Toy Story Shorts and Shirts, by Kelly of Eclectic Momsense


Here are a few other ways to countdown or celebrate your own Disney vacation: 

  • Disney word search
  • Homemade Disney autograph books
  • Countdown to Disney with Disney Dollars
  • Disney fun fact lunchbox love notes
  • Lessons from Disney Social Media Moms Celebration

You May Also Like...

  • disney youth programs: YES you need to know about the youth education series
    disney youth programs: YES you need to know about the youth education series
  • what you need to know: disney's performing arts programs
    what you need to know: disney's performing arts programs
  • Navigating Education in a Time of Uncertainty: A Virtual Summit for Educators
    Navigating Education in a Time of Uncertainty: A Virtual Summit for Educators

About amy mascott

teacher, mother, dreamer. lover of literacy, fun learning, good food, and three crazy-cool kids. finder of four-leaf clovers | dc metro · http://about.me/amymascott
tweet with me: @teachmama

Previous Post:3 ways to stay connected to family teachmama.com3 ways to stay connected with long-distance family and friends
Next Post:coral reefs of Palau: The Nature Conservancy free virtual field trip and learning resourcescoral reefs of Palauvirtual field trip teachmama.com

Reader Interactions

Comments

  1. Megan

    September 5, 2015 at 12:39 pm

    I just tried this and the bleach soaked through the edges of my freezer paper…i tried to avoid getting it too soggy – any ideas or suggestions?!

    Reply
    • amy mascott

      September 8, 2015 at 8:02 am

      oh, man, Megan! I’d just say to go lighter on the bleach–bleach works a short bit after it sits. . . maybe try again but spray more conservatively?

      Reply
  2. becca holt

    September 17, 2015 at 5:37 pm

    I love this idea and thank you for sharing! We didn’t have any freezer paper so I tried a glue stick with wax paper and that was a total fail – bled all over the place. Then I remembered that i had vinyl for my cricut, so i cut out your template and traced it onto my vinyl and cut out my vinyl mickey. I stuck that directly onto the t-shirt and it worked fabulously! I was even able to re-use the same vinyl cut-out to make 5 different shirts! Great tutorial and idea!

    Reply
    • amy mascott

      September 18, 2015 at 9:00 am

      Becca! YAY~~~~ SO happy to hear that your adjustment worked!! THANK YOU for sharing–and if you have picts, I’d LOVE to see them!!

      Reply
  3. Ellen sherrill

    December 1, 2015 at 9:29 pm

    This is an awesome tutorial! my family is going in december and i’m going to try these this weekend. did you wash your shirts before you bleached?

    Reply
    • amy mascott

      December 2, 2015 at 10:37 am

      yay! glad it will work for you–nope. I didn’t wash them first. .. but I’m a kind of lazy crafter, so maybe that would be a smart move?

      Reply
  4. DISNEY DREAMING

    February 23, 2016 at 11:11 am

    Sorry I never iron- that’s what the dryer is for… and I’m not a very experience crafter so what temp/setting do I put the iron on?

    Reply
    • amy mascott

      February 23, 2016 at 11:56 am

      ha! no problem. . . I’d keep the iron on medium/ low until you know it’s working. Some irons heat quickly — and you don’t want to burn it!

      Reply
  5. Abby merchant

    May 10, 2016 at 1:17 pm

    I tried this 4 times and each time the bleach bled through and the stencil was a big blob! Not sure why my freezer paper isn’t protecting or hold the edges sealed. But emergency fixed it by sewing a mickey fabric cutout over the bleach blob. Bummed because yours look super cute.

    Reply
    • amy mascott

      May 10, 2016 at 1:49 pm

      WHAT???!!! HOW frustrating, Abby!! I am so, so, so sorry! Did you iron on the freezer paper properly, with the correct side down? Were you using store-brand freezer paper (I think that brand name may be better. . . ) Did you make the correct mix of bleach/ water? Ugh. I know how frustrating it is tro see something cool, try it, and NOT have it work. 🙁

      Reply
  6. Barbara Adams

    July 17, 2016 at 3:39 pm

    My shirt didn’t bleach out. It is not 100% cotton. is that the secret? I used 100% bleach solution on a hot pink shirt.

    Reply
    • amy mascott

      July 18, 2016 at 12:19 pm

      Barbara–Very strange. Should definitely have bleached out.

      Reply
  7. Paige

    September 4, 2017 at 3:19 pm

    We just made these and they turned out great! We didn’t have freezer paper and tried wax paper but it did not stick. We tested out a cardboard cut out and used a cup to weight it down and it worked perfectly! Thank you so much for the idea. We are excited to wear our matching shirts to our first Disney trip in two days!

    Reply
  8. Renee

    October 6, 2017 at 2:51 am

    Went light on the bleach and it still bled through the freezer paper and left an ugly ruined shirt with bleach blobs.

    Reply
    • amy mascott

      October 13, 2017 at 8:30 am

      OH NOOOOOO!! so sorry to hear that–I wonder why that happened??

      Reply
  9. Sabrina Menck

    January 11, 2018 at 3:11 pm

    Hi Amy! How did you get the different colors? Does the bleach show up differently on different colored shirts?

    thank you!!!

    Reply
    • amy mascott

      January 23, 2018 at 2:56 pm

      Sabrina–I think so! I didn’t do anything other than use bleach!

      Reply
  10. Heidi coughlin

    October 17, 2018 at 9:43 am

    You need to have paper towels to pat the freezer paper dry after you spray so it doesn’t have time to soak through. Just spray a little, then dab dry, spray more, dab dry.

    Reply

Leave a Reply Cancel reply

Your email address will not be published. Required fields are marked *

Sidebar

amy mascott profile blog

join the coolest club around:

  • About
  • Contact
  • disclaimer
  • terms of use
  • privacy policy
  • Site-Map

Instagram


our books

setting the stage for rock-star readers
raise a reader

Find Us On Social Media

  • Facebook
  • Twitter
  • Pinterest
  • Instagram
  • YouTube

Helpful Links

  • About
  • Contact
  • Press
  • Media Kit
  • Disclaimer
  • Terms of Use
  • Privacy Policy

Follow Us On Instagram

View
Open
If you are not yet part of the Take 5 crew, you definitely want to get in the mix!

It will land in your inbox tomorrow: 
https://take5.teachmama.com/

#teachmamatake5  #teachersfollowteachers #parentsofIG #teachertips #linkinbio
View
Open
It’s here! It’s HERE! 

THE ULTIMATE VALENTINE’S DAY CLASS PARTY!

Everything you need to make a Valentine’s Day party totally ROCK: https://shop.teachmama.com/

#valentineparty #valentinesdayclassparty #teacherhacks #roomparent
View
Open
Friends!

I am over on Tiktok, and I’m actually loving it! I’m @teachmama1 or search ‘Amy Mascott’. 🍀

Are you there? PLEASE drop your user name so I can follow you. 

Tagging some one my Tiktok super⭐️ friends so we have some cool cats to follow and learn from. 

Find these 🔥 accounts: 
@myhealthydish 
@luciamallea 
@craftychica 
@livinglocurto 
@audreymcclellan 
@mo_mountain_mutts 
@tailsofconnection 
@jeannettekaplun 
@studiojjk 
@theamiyrahmartin 
@gerrybrooksprin 

#followmeontiktok #sorrykids #ifyoucantbeatemjoinem
View
Open
Even kids who dislike writing will LOVE to pen a note on these tiny cards! And the best news? These flowers last FOREVER!

Grab some here: 
https://zuli.ly/sl/n/t/ACEf

#makesomeonesday #featuredreel #teachersofIG #partner
View
Open
💜❤️🤍 THINK: VALENTINE’s DAY!! ❤️🤍💜

Sooooo many people we know LOVE cool sweatshirts. Skip the 🍬💕 this year and surprise your sweethearts with a fun, cozy, super-😎hoodie. 

Move now! $19 and FREE SHIPPING with my link here—> zulily.gfpv.net/x9eP6v

#coolvalentine #hoodieszn #ad #giftsfortweens #giftsforteens
View
Open
THANK YOU, @imse_og for the best. training. ever!!

WHERE on earth did this week go? It completely flew by!

Our instructor, Becky Strimple, was AWESOME. I am officially hooked on the #OrtonGillingham method, and I am already looking at the next IMSE course I can take to get me closer to Comprehensive OG Plus Certification. 

#UntilAllCanRead #imseog #readingrocks #multisensoryteaching #soexciting
View
Open
Day 4 of OG Training, and this 5 second video doesn’t even scratch the surface of what we covered. 

I have participated in dozens and dozens and dozens of trainings over the course of my career—and throughout my own education—but hands down this is the best one I have ever had. 

Every educator should take this. I don’t have the faintest idea why it’s not required for every edu degree. 

It’s not only a look at the best ways to teach decoding and encoding, but it’s a study of the English language as well. It’s wild. 

#ortongillingham #Letsread #ogteacher #readingteacher
View
Open
Day 3 of @imse_og Orton-Gillingham Training and I am 🤯. 

WHY did I not do this sooner?!

If YOU are OG-Trained, what did you find most helpful/ mind-blowing/ earth-shattering?

#ogteacher #ortongillinghamteachers #teachersofig #teachersfollowteachers
View
Open
Day 2 of Orton-Gillingham Training —we learned SO. MUCH. 

#OGtraining #readingteacher #teachreading #strivingreaders #ortongillingham

Copyright © 2023 · teach mama media, llc · All Rights Reserved

  • 381
28.5K shares